Four Reasons Why a Doe is a Trophy
Steve Sorensen
So you got skunked this year? You didn’t even get a doe? Your buddies are posting their grip-and-grin buck photos on Facebook, and you don’t even have meat for the freezer? One of them probably even gave you the business over it! It’s embarrassing, so you don’t want to talk about deer hunting. Maybe you even disappear from social media until a month after the season closes. By then everyone forgets you feasted on tag soup.
Many years ago in my state (Pennsylvania), a hunter could take one buck on his license. To take a doe he had to apply for an antlerless tag, allocated on a county-by-county basis. If he was successful getting a buck, his antlerless tag became void. Many hunters (though they couldn’t have been more wrong) considered filling a doe tag as a sort of consolation prize.
Times have changed. The deer population exploded — in many places enough to negatively impact the habitat. In Pennsylvania deer are no longer managed by county but by Wildlife Management Unit. We can still take one buck, but deer management tags (antlerless tags) have increased and with the proper tags we can take multiple does. Deer hunting has entered a new day, but getting a doe when firearms season finally rolls around isn’t always easy.
The last time I killed a doe in the regular Pennsylvania firearms season was 2011. It’s not that I don’t try. Most years I shoot a buck, but I usually walk out of the woods at the end the season with an antlerless tag in my wallet.
Since I live a few miles from New York’s southern border, I’ve been hunting deer in the New York firearms season for more than ten years, always with an antlerless tag. I’ve shot some good bucks, but I’ve yet to harvest a New York doe.
That lack of success on does has made me think long and hard about why shooting a doe can be harder than shooting a nice buck — especially a mature doe. Here are four reasons it can be easier to get a buck than a doe. Even though, a doe lacks antlers, she can be a real trophy.
1. Young and middle-aged bucks aren’t all that smart.
Although we think of mature bucks as loners, the truth is that all deer are social animals, When a buck is part of a bachelor group through the summer and early fall, his buddies “watch his six.” A bachelor buck relies on other eyes, ears and noses in his party to watch his back and catch signs of danger. He notes the reaction of other bucks when threats are near. And when he’s alone, he needs only to look out for himself. And when the rut comes, his behavior turns risky and reckless. Even stupid.
A 2½ or 3½ year old whitetail buck is not the smartest animal in the woods. It takes him longer to earn his advanced degree in survival than it takes the doe. In fact, as a fawn he learned from his mother that someone else will watch out for him, because that’s what Mama did for him. And Mama is never stupid.
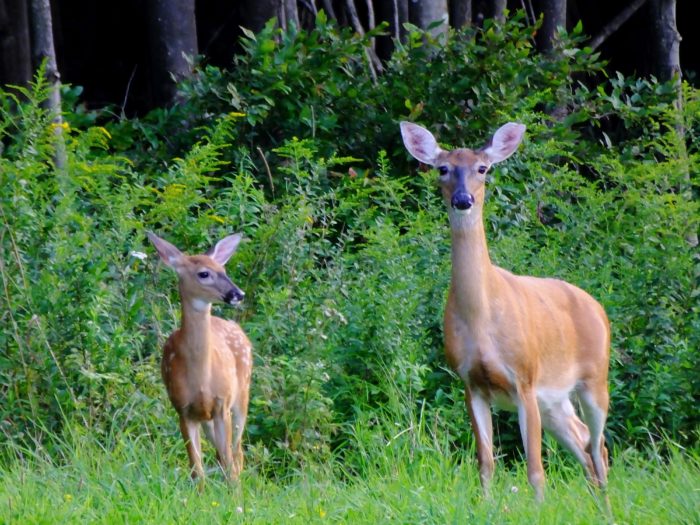
Mama’s little ones focus on Mama, while Mama focuses on every potential danger. (Steve Sorensen photo.)
2. A mature doe is one smart deer.
Once the shooting starts, taking a mature doe isn’t easy because a mature doe is one smart deer. What do I mean by a mature doe? I won’t deny that 5½ year old buck is cagy, but that’s about how long it takes for him to become as smart as the doe that has successfully raised fawns. Motherhood makes her a quick study. For the buck, fatherhood is irrelevant to his learning curve.
Sometimes we refer to certain parents as “helicopter parents.” That’s what a doe is. Otherwise deer would die out as a species. Immediately after birthing her fawns, she must put them where coyotes and bears are unlikely to find them. She leaves them alone for periods of time so that her scent doesn’t draw predators, but she’s ready to come to their rescue if she hears any disturbance. She must look for a safe place to nurse them where danger doesn’t lurk because during their first few weeks of life predators are transitioning their own young to a diet of meat. That’s when meat-eaters are most aggressive — and fawns are most vulnerable.
3. A mother’s work is never done.
We put a lot of responsibility on bucks for carrying on the species, but the truth is that his only responsibility is to make a quick genetic contribution during a short rutting period, and then he’s finished. Her responsibility is never finished. Give your mother her due — “A mother’s work is never done” is about more than dinner prep, household chores, and bedtime stories. Give the human dad credit too — his role is also vital. In a doe’s world, “A mother’s work is never done” is about 24/7 survival of her young. The buck has become irrelevant.
As the little ones begin to be weaned, she must lead them to feeding grounds while avoiding dangers that may lie in wait. Mama with her fawns in green pastures is never totally engaged in filling her stomach. She’s also on the lookout for any threat to her precious babies.
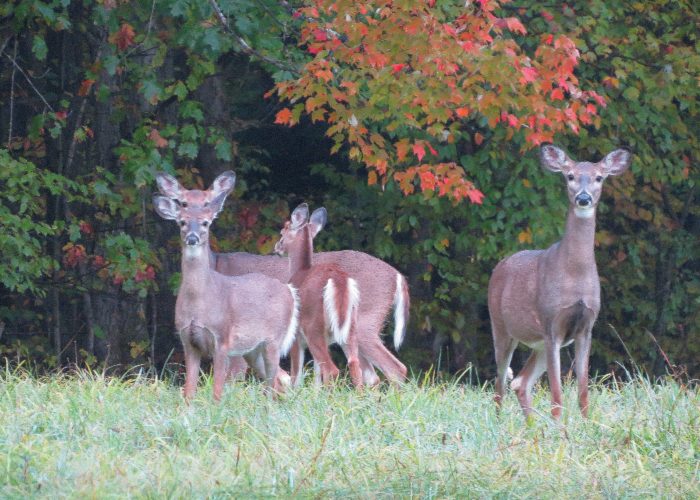
Does make it a habit to notice everything. They’re usually in family groups, and they watch out for each other. Notice all the girls are watching out for the little guy. (Steve Sorensen photo.)
4. Motherhood responsibility leads to greater intelligence.
By firearms season the survival of a doe’s mini-me clones has been her top priority for six months. They’ve learned the lessons of trust and obey as Mama tested every breeze, watched every movement, and heard every unexpected sound. We think of deer as curious creatures, but a mother deer has little curiosity when she has babies. Her instinct puts more weight on safety than on curiosity — when fawns are with her she doesn’t stick around to figure out what that thing is that seems out of place. Survival means vamoose — get the kids outta there!
Back when I started hunting, old-timers told me the smart old bucks let the doe go first to make sure there wasn’t any danger. It was foolish speculation based on their own machismo. They assumed bucks were wiser in the ways of the woods than does — just as they assumed they themselves were wiser in the ways of the world than the women in their own homes. Balderdash… poppycock… call it whatever you want, but it has never been true.
Being keenly aware that bucks have reasons (or shall we say, urges?) to follow does, men should know better. The truth is that those old-timers were looking at does whose nature it was to worry about safety. They were looking at bucks whose nature it was to obey their raging hormones — to follow the doe until she stopped.
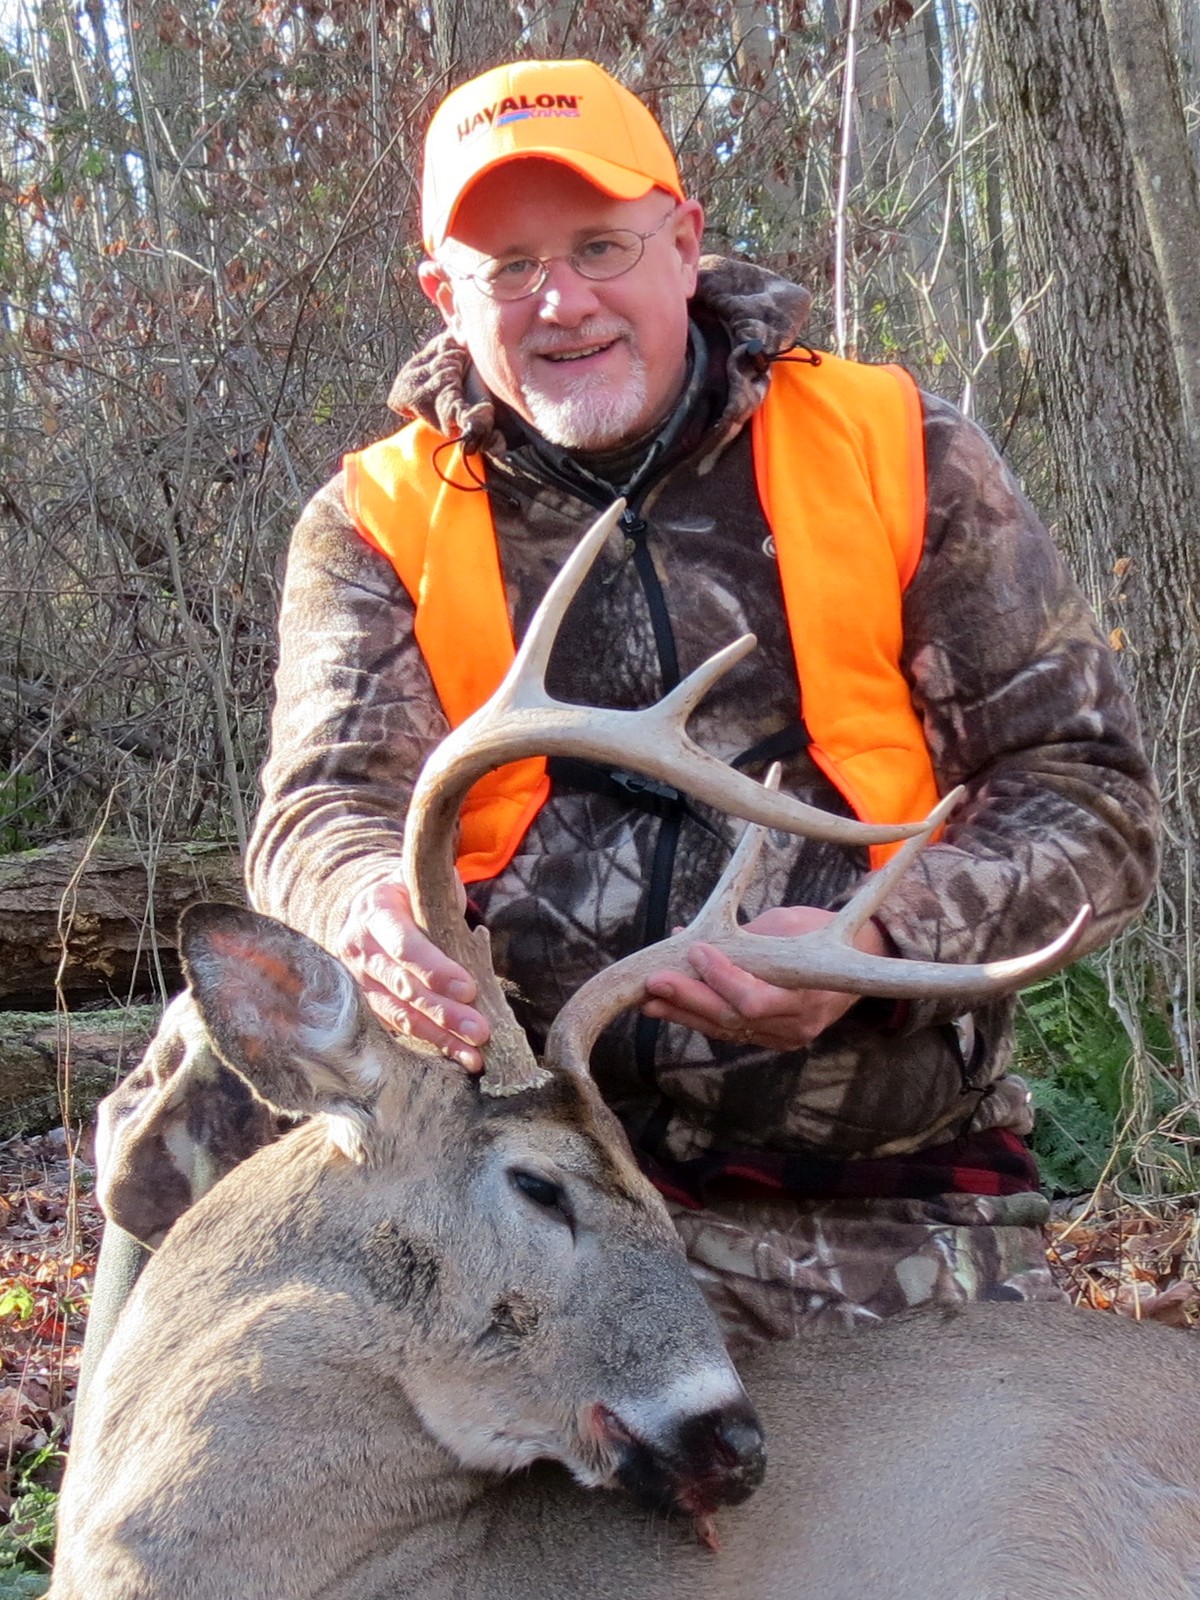
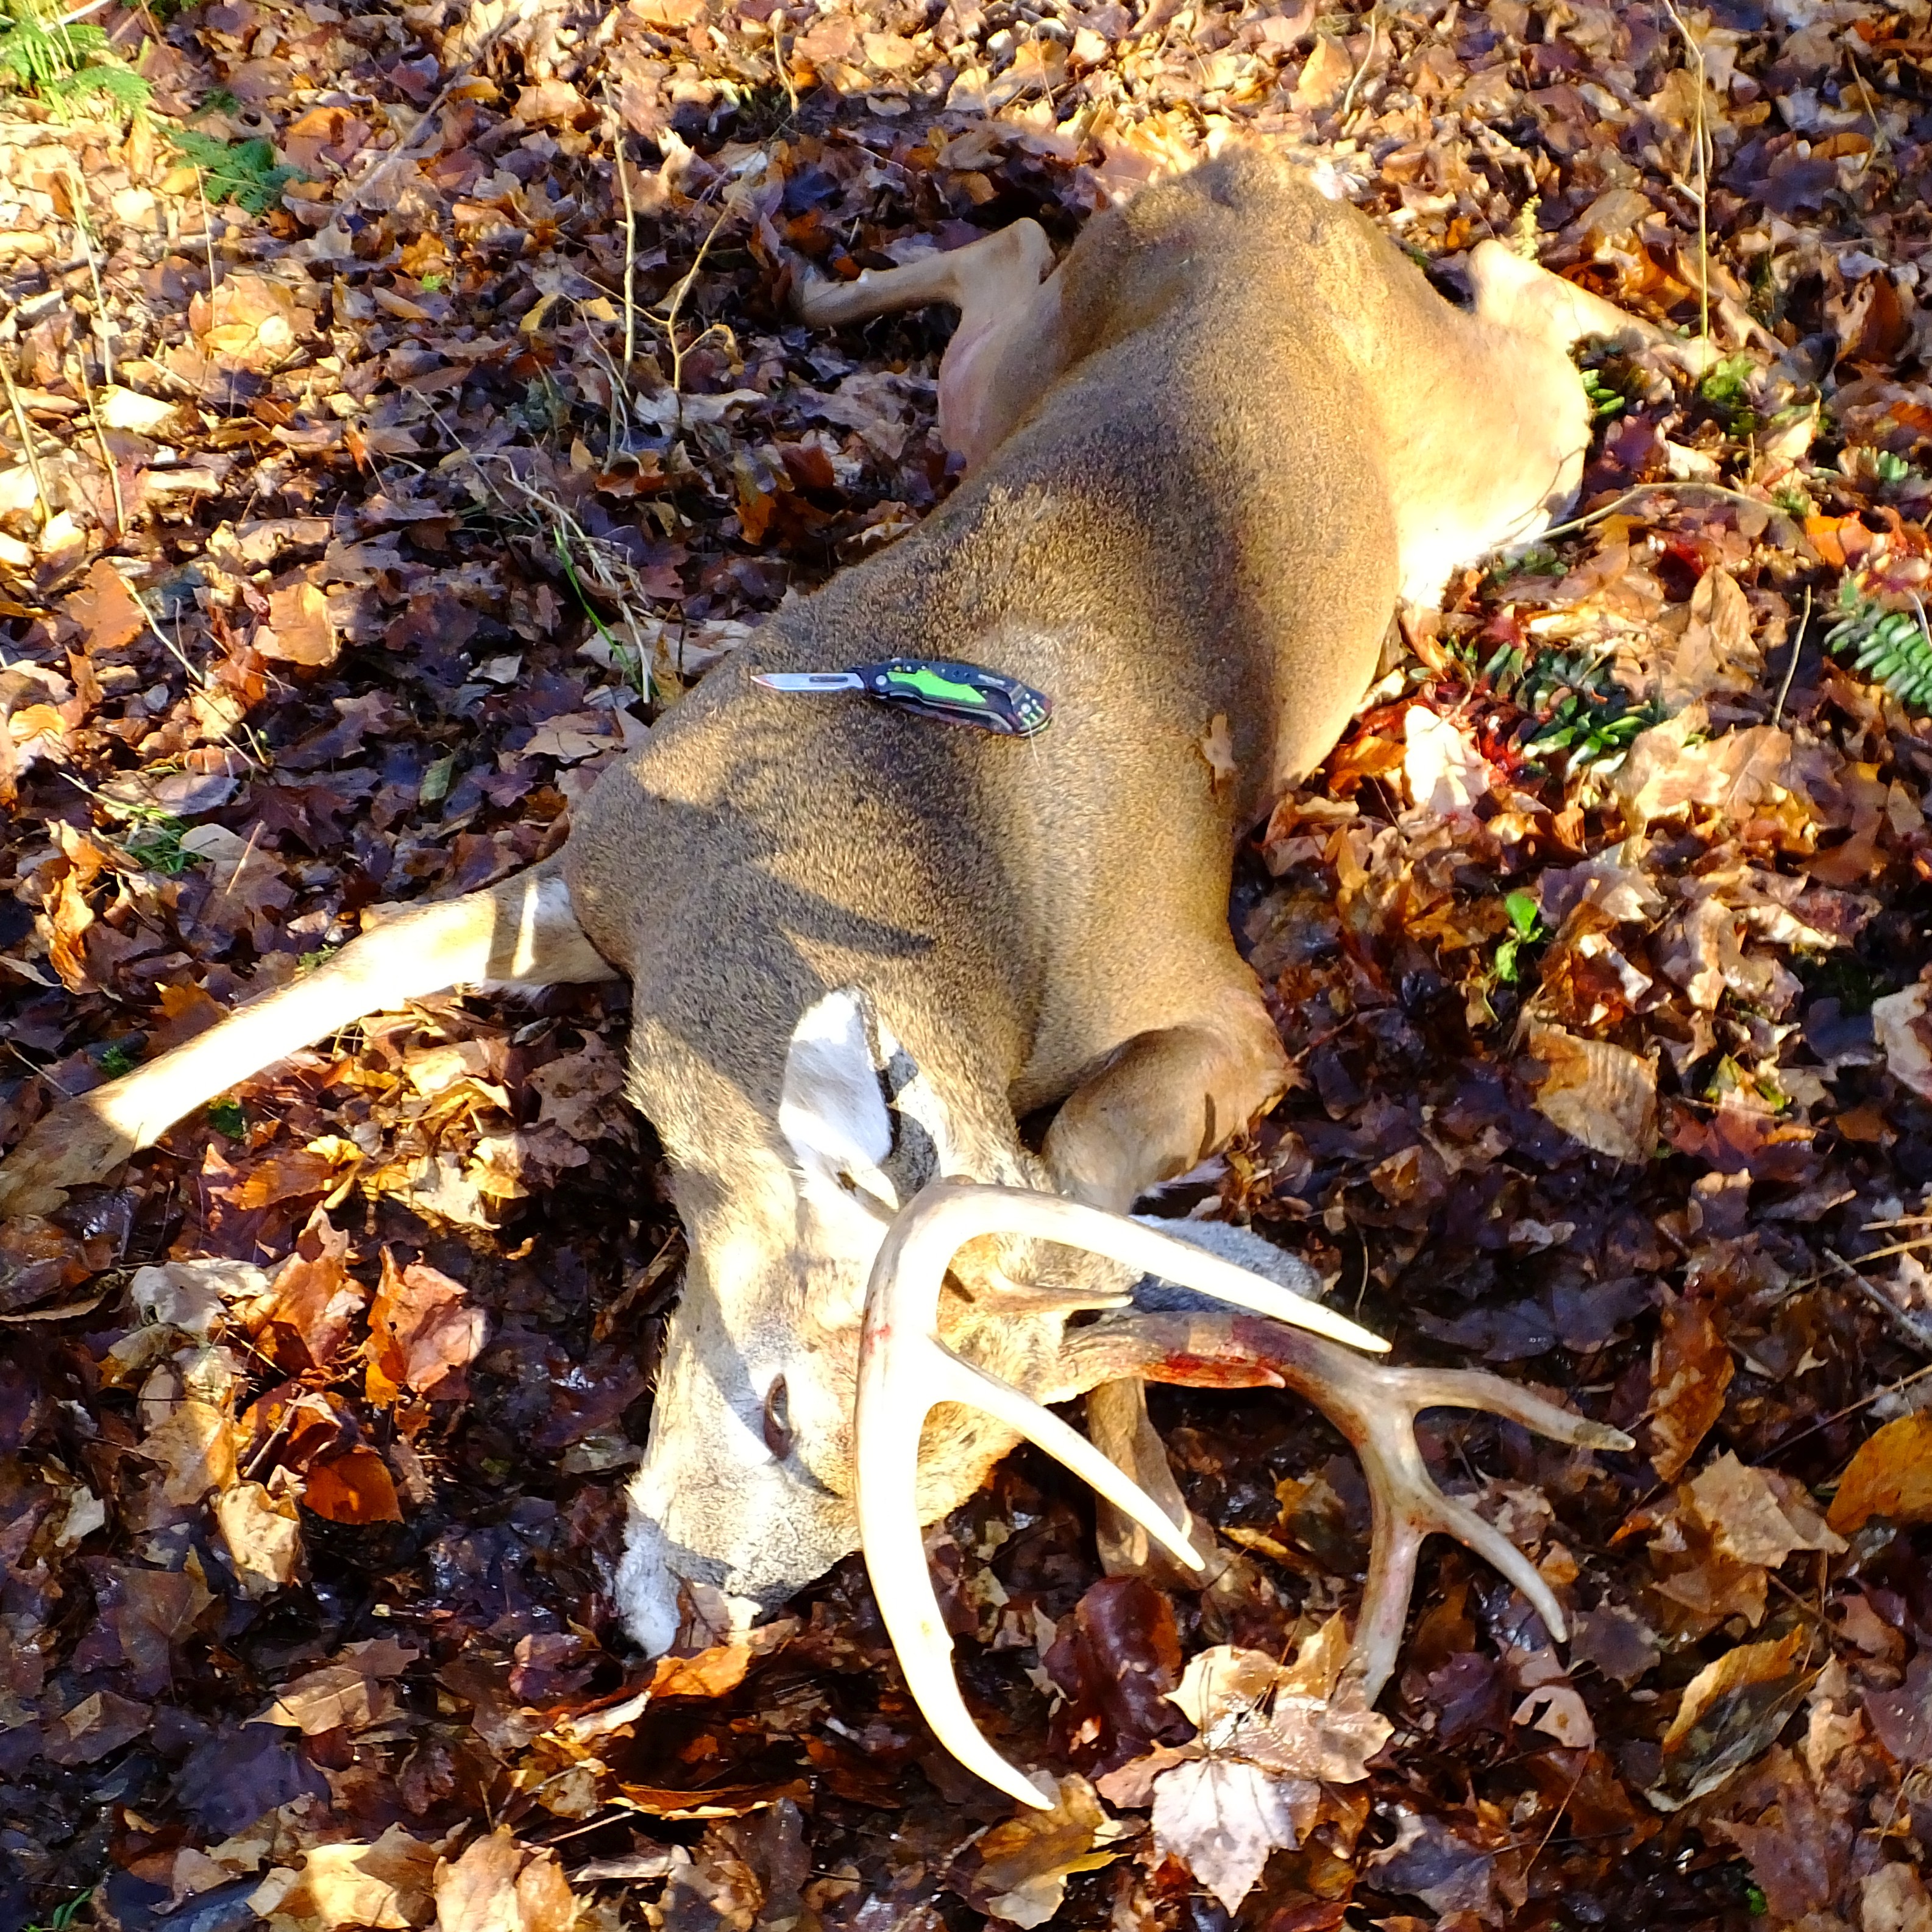
This past season I shot an eight-point on New York’s opening day. On several other days I hunted does without luck. In Pennsylvania I shot an eight point at the end of the first week, and spent the second week hunting for a doe. I was not successful.
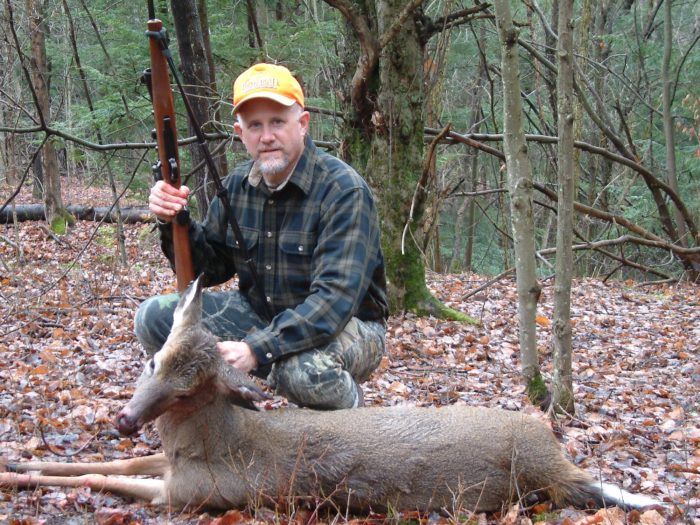
This doe tried to outsmart the author by circling around a big pine thicket to get behind him. That probably worked for her many times, until she became the author’s trophy. (Steve Sorensen photo.)
After more than 50 years of deer hunting, I’m convinced we should never underestimate Mama. Plenty of does are smarter than the bucks your buddies are so proud of. And that’s why a doe is a trophy.
***
When “The Everyday Hunter” isn’t hunting, he’s thinking about hunting, talking about hunting, dreaming about hunting, writing about hunting, or wishing he were hunting. If you want to tell Steve exactly where your favorite hunting spot is, contact him through his website, www.EverydayHunter.com. He writes for top outdoor magazines, and won the 2015 and 2018 national “Pinnacle Award” for outdoor writing.
![]()