Get Ready for a Late Winter Shed Hunt

By Steve Sorensen

Shed hunting experts know these four secrets!

While waiting for this bitterly cold, seemingly endless winter to end, the patience of whitetail hunters is growing thin as they itch to get out and hunt for shed antlers. This year we still have a foot of snow in the woods, and it’s not melting very quickly. With nighttime temperatures in the mid-twenties or even the teens, a forty-degree day doesn’t melt much snow.

YouTube is full of shed hunting videos, and many of them show hunters spotting sheds with tines sticking up through the snow. It looks easy, and it would be if the snow were only two or three inches deep. Fat chance of that here. In fact, I was out today and in some places the snow was still knee-deep.

So, under these harsh conditions, can you, should you, hunt for sheds in the snow? The odds of finding them may be slim if they’re buried under the white stuff. But while searching snow-covered ground, I discovered several reasons to hunt sheds in the snow:

Deer trails can lead to some great shed hunting

This deer trail is littered with droppings, runs through thermal cover and leads directly to a deer bedding area. (Photo: Steve Sorensen)

1. Focus on thermal cover

In order to survive, deer must conserve energy in the winter. To do that, they seek thermal cover — areas where hemlocks or thick pines grow. Thermal cover gives deer at least three advantages. These trees act like a blanket, holding the day’s heat through the night. They also act as an umbrella, catching snow in their limbs, so the snowcover isn’t as deep under them. They also offer a wind break, minimizing the exposure of deer to the biting wind. Southern slopes offer an additional advantage — they’re warmer than northern slopes because the sun’s rays are more direct. These are the reasons deer gravitate to thermal cover in the winter. Snow doesn’t necessarily melt here first. It might actually stay longer in protected areas where the sun doesn’t get through, but look in these areas first and plan a return trip.

Some windswept fields attract shed antlers

Snow never covers a field at the same depth everywhere. Some areas will be windswept, and the grasses will be exposed there first. These spots will be deer magnets because deer can feed without spending much energy. (Photo: Steve Sorensen)

2. Don’t skip over open fields

Fields are difficult to hunt because they are often large, and the deer might be anywhere. But early hunting while snow is still on allows you to narrow down the area considerably. That’s because most fields have windblown spots, either because of the contour of the land or due to the way the wind blows around adjacent cover. Deer will gravitate to those windblown spots where they don’t need to paw through the snow. Even though snow might still be 10 to 12 inches deep in most of the field, some spots are bare. The exposed grasses and weeds make acquiring food effortless. That’s important to deer because the less energy they use finding food, the less stress they have and the healthier they will be at winter’s end.

Deer beds equal more shed antlers

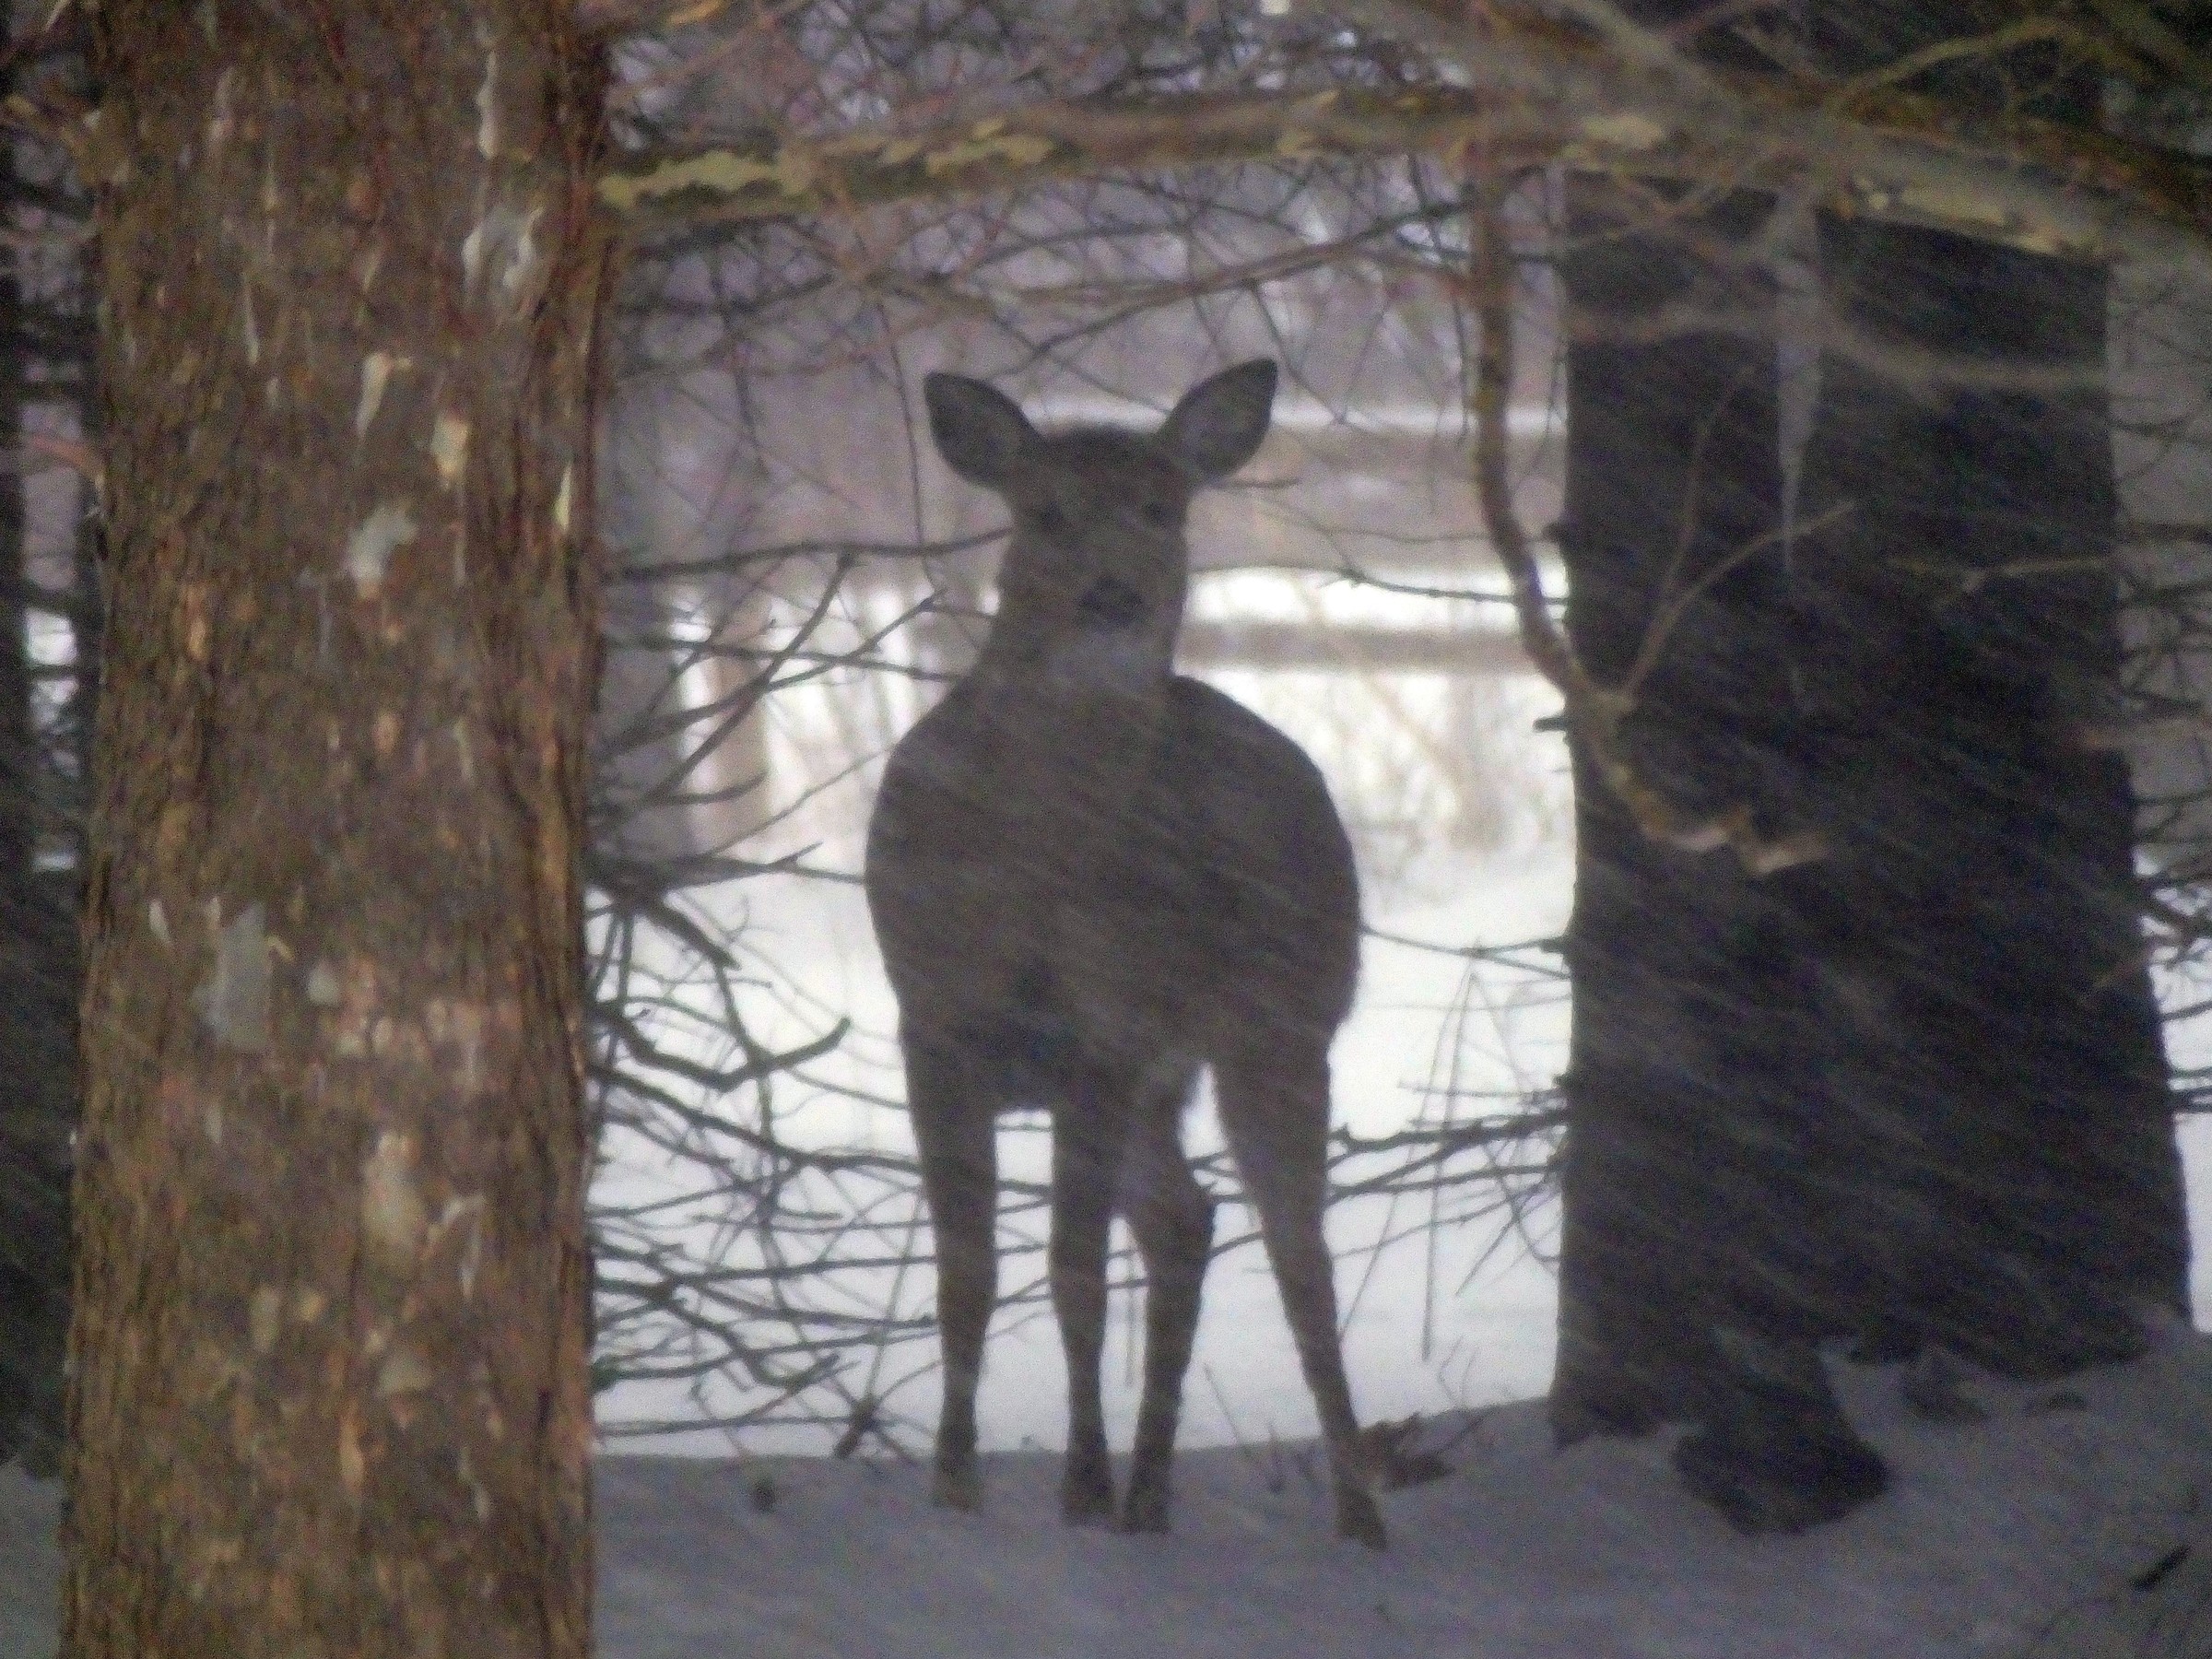
Find deer beds and your odds of finding shed antlers go way up. When antlers are ready to fall, the slight jerking motion of a deer getting up or down is enough to make them drop. (Photo: Steve Sorensen)

3. Seek out deer beds

Deer will concentrate their activity in winter. When one deer breaks trail, the others will follow single file. You’ll often find deer droppings in such abundance on those trails that it looks like a barnyard, and they will lead you directly to bedding areas. In severe winter weather deer will use the same beds over and over, and melt the snow right down to the ground. You may not see antlers until the snow around the beds melts, but now that you know where the beds are you’ll know where to look.

Fruit trees like apple trees are a good spot to check for shed antlers

Look under apple trees. They serve a dual purpose for deer. They function as mini-thermal cover, and they offer a food source. (Photo: Steve Sorensen)

4. Look for isolated trees, especially fruit trees

These act as mini-thermal cover. The trunks absorb heat from the sun, and it keeps the snowcover around them to a minimum. Deer gravitate towards them. On apple trees, you’ll often see a browse line where deer consume the tender tips of the branches during winter. The act of biting and jerking these tips will often be just enough to jar antlers that are ready to fall.

The chances of finding shed antlers are low while the ground is still white with snow, but that’s no reason to stay out of the woods. By mid-March most antlers have been cast, and even if snow still covers the ground you might be lucky enough to find the obvious ones — perhaps on top of the snow or maybe in spots where the snow is almost gone. But even if you don’t find them, you’ll know the land better, increase your odds the next time out and cover it more quickly. Finally, you’ll beat other hunters to the punch — your tracks in the snow will make other shed hunters think the area has been covered.


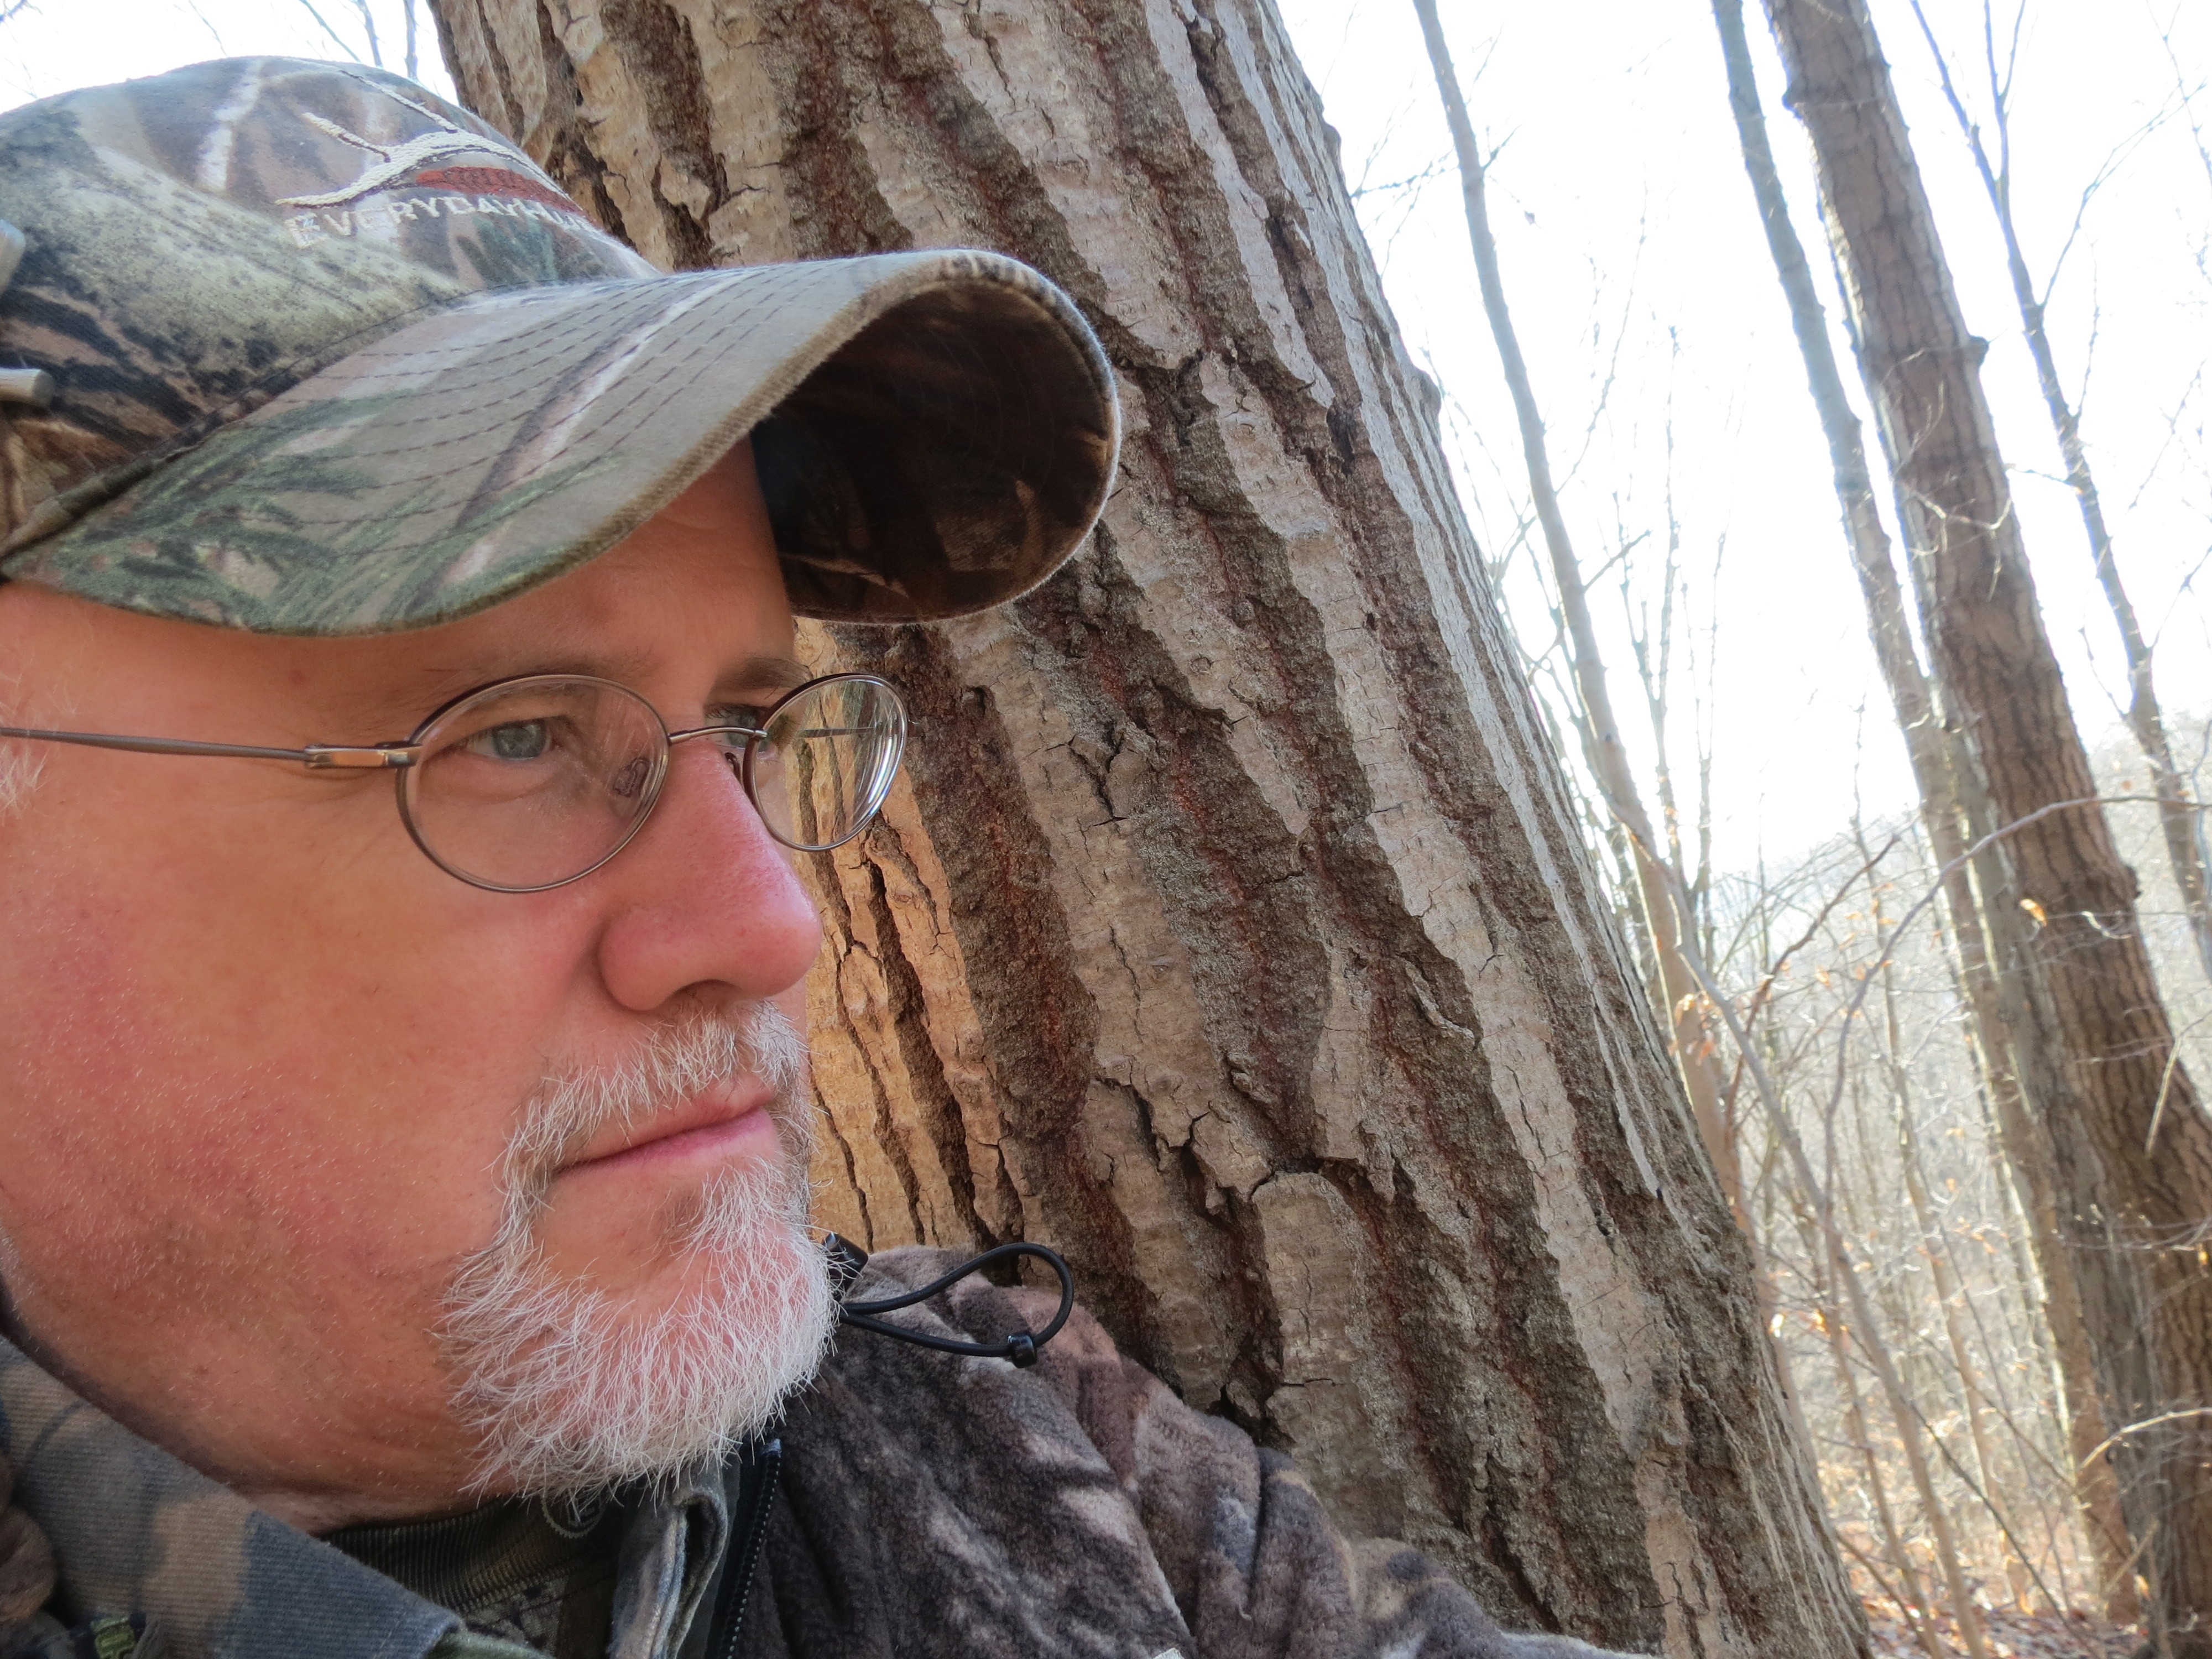
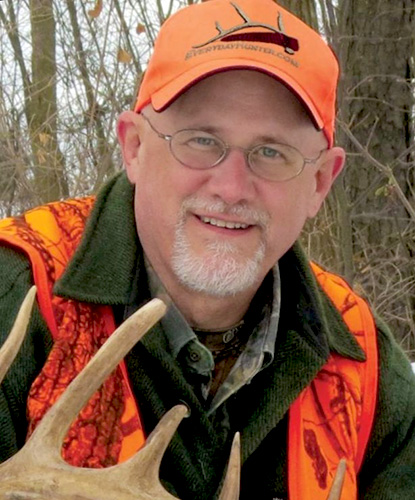
About Steve Sorensen:

hunter outdoor writer steve sorensenSteve Sorensen is the author of “Growing Up With Guns” and “The Everyday Hunter Handbook Series.” He also writes an award-winning newspaper column called “The Everyday Hunter”®, and edits content for the Havalon Post. He has published articles in Deer & Deer Hunting, Outdoor Life and many other top magazines across the USA. Invite Steve to speak at your next event, and follow him at www.EverydayHunter.com.


1,133 total views, no views today

Posted in Hunting Tips, Outdoor Life, Steve Sorensen, Uncategorized, Wild Boar Hunting | Comments Off on Get Ready for a Late Winter Shed Hunt

Be Winter Ready

By Tom Claycomb III

Essentials for the perfect winter hunt.

As kids, Richard Jaco and I would go camping nearly every weekend. While doing it we engaged in lots of diversions. We’d trap all night or ride around with the game warden hunting deer poachers – then we’d duck hunt at day break. It was great fun except that we didn’t have a tent and my lightweight sleeping bag had a broken zipper.

4wheeler-not-essential-but-convenient-448x336

A 4-wheeler is not an essential, but a reliable one can get you to the top of the mountain with less stress and strain, so you can save your energy for hunting, and hunt longer in the evening
before returning to camp.

Those early camping trips probably didn’t teach me much that would help me years later when, on my first bear hunt in Colorado at about 9,500 feet, we had to clear out a foot and a half of snow to set up our tent. Jerome Lawler looked over and asked me where my sleeping pad was. I didn’t even know they made such a thing.

Since those days I’ve learned a lot and have added sleeping pads and more to my camping arsenal. If you’re camping in extreme winter conditions, certain items are must-haves. I don’t know if you can even rate them – they’re all equally important.

In extreme winter camping conditions such as you’ll encounter while elk hunting you have to get a good night sleep to be able to hunt hard. It is the most physical activity that I do all year.

use-a-quality-tent-448x336

A quality tent, pitched in the right place, can shelter you
from Mother Nature’s worst.

It means getting up well before daylight to eat, and then jumping on a horse, 4-wheeler or hiking to the top of a mountain. It means hiking in mountains all day and stumbling back into camp well after dark. It means slamming down dinner and trying to get some quick shuteye, only to wake up early and do it all again. It’s imperative to get a good night’s sleep. Below are four items that can help you do that:

  1. A good tent – Don’t buy one of the newer tents that has mesh all the way down the side. This was done to cut cost. You only want a little mesh at the top to allow for air flow. Also look for one with a rain cover that comes down to ground level. Otherwise snow flurries will whip under it and into your tent.
  2. A good sleeping bag – Get one rated for -20° F, like the Alps Mountaineering Crescent Lake model. Many manufacturers fib on the ratings, so always get one with a lower temp rating than you think you’ll need. Most people favor mummy bags to preserve body heat. A fleece liner will fill in the dead spots, prevent heat from escaping, and increase the heat rating.
  3. A good sleeping pad – A sleeping pad will protect you from the freezing ground. I love using cots but in cold weather they allow the cold to sweep in from the bottom. Another valuable function that pads provide is they soften the hard ground. I live in the Rocky Mountains. In case you wonder why they’re called “Rocky,” it’s because they’re made up of rocks. Without a good sleeping pad, that prevents a good night’s sleep.
  4. A tent heater – If you’re sleeping in a sheepherder’s tent (a type of wall tent) then you might be lucky enough to have a wood stove. If not, then there’s nothing like a tent heater. I bought a Coleman tent heater 23 years ago and love it. It puts out 5,000 BTUs. Don’t sleep with it burning or it will asphyxiate you, but I love to fire it up at bed time to heat up the tent so I can strip down, put on my long handles without freezing, and hit the bag warm. Then when I wake up in the morning I sleepily reach out and fire it up. By the time I stumble out of my bag the tent’s warm. If you’re the yuppie type who can’t get along without a bagel, you may try what my buddy Mike Trautner does – he puts his bagel on the heat guard the night before. When he crawls out the bagel’s warm and ready for him to spread on some cream cheese.

the-right-gear-text-314x180With the above items (the bagel’s not an essential) you should be able to sneak in a good night’s sleep even when the elements are trying to punish you. One last little trick that helps insure a good night’s sleep is to lay a tarp on the tent floor under your sleeping bag and clothes. Curl a ridge along one edge or in the corner, and place wet clothes and boots there to separate them from everything else. That way when the snow melts you will still have a dry tent.

Being outdoors in the winter can be tough duty but it doesn’t mean your only two choices are between dying and being miserable! Be prepared with these four essentials and it will be more fun – plus you’ll be able to hunt harder after a good night’s sleep.

***

tom claycomb image 288x300About Tom Claycomb III

Tom lives in Idaho writes outdoor articles for various newspapers, magazines & websites. If it’s something outdoors, he probably likes it. You can read some more of his writings at: www.Amazon.com, www.TomclayComb3.com, and www.BassPro.com.


havalon-titan_camping-cta-400x265

Click here for more helpf

846 total views, 1 views today

Posted in Uncategorized | Comments Off on Be Winter Ready

Part One: The Great Sighting-In Debate by Steve Sorensen

The Great Sighting-In Debate, Part 1:
Five Reasons Your Deer Rifle Needs MOA Accuracy
By Steve Sorensen

My dad and uncle were both clustering their bullet holes into tiny groups on a paper target at 100 yards. Half their holes touched each other. For me, it was sheer random luck when one bullet punched a hole within an inch of another.

We were at my uncle’s picnic table sighting in our deer rifles on Thanksgiving weekend many years ago. Dad had an old Winchester Model 54 in .30-06. Uncle Ken also had a .30-06. I had a Savage Model 340 in .222 Remington. We were all shooting bullets my uncle handloaded. We were all shooting at the same distance, with the same sandbags supporting our shooting irons. I wasn’t measuring up to the shooting ability my elders demonstrated. Although I was only 12 or 13, I was embarrassed, especially since everyone told me the .222 was well known to be an accurate cartridge. But my dad said, “Don’t worry about it. All you need to kill a deer is to put your shots into a paper plate. That’s about the same size as the boiler room on a buck.”

And that was my first exposure to the debate:
Do you need minute-of-angle accuracy
in the deer woods? Or are 4-inch groups sufficient
to place a bullet in the deer’s vitals?

What Is a Minute-of-Angle?
Here’s a non-technical definition. A minute-of-angle (MOA) is a mathematical term. A circle is a 360 degree circle, and each degree has 60 minutes, so there are 21,600 minutes in a circle. One of those 21,600 sections of the arc of a circle is a minute-of-angle. If the perimeter of that circle is 100 yards from the center, the distance of one minute on that arc is 1.047 inches. (A minute-of-angle at 50 yards is half that, and at 200 yards is twice that.)

For convenience, shooters usually round a minute-of-angle at 100 yards down to one inch. Although “one-inch groups” and “MOA” are not exactly the same, this article uses them interchangeably.

Hunters still argue over this. In a way, both sides are right. I’ve learned since I sat at that picnic table that there are reasons you need MOA accuracy, and reasons you don’t.

Five Reasons You Need MOA Accuracy
1. Tiny groups give you confidence in you and your rifle.
Some hunters just like to squeeze all the accuracy possible from their deer rifles, or any rifle. When a hunter maximizes accuracy, he gains confidence in his ability as a shooter. After all, a tiny group of five bullets in the target is the result not only of the rifle, but the shooter maximizing the rifle’s capability. For a shooter to prove himself, he needs an accurate rifle.

2. Tiny groups give you a sense of accomplishment.
When you get a minute-of-angle group of five bullets (what we usually call a one-inch group), you know you have quality ammunition, and achieved the accuracy your rifle is capable of. That’s worth something when you head into the woods.

1-1MOA-Group
This is what most hunters strive for. If you can cluster your bullets into groups like this, it won’t be the rifle’s fault if you miss a deer. (Steve Sorensen photo.)

3. The more accurate the rifle, the fewer deer you’ll miss or wound.
Shooting one-inch groups from a stable bench rest isn’t anything like shooting from a tree limb or shooting offhand. In the field, your groups will be significantly larger. If you’re shooting MOA groups from the bench, but offhand you shoot 8-inch groups, that’s still good enough to hit a deer in the vitals at a reasonable range. But if you’re shooting 4-inch groups from the bench, and they enlarge to 12 inches in field conditions, that’s not good enough. At the margins of a 12-inch group, you’re likely to miss or wound the deer.

4. The more accurate the rifle, the greater your margin for error.
This is a corollary of the third point. Think of the paper target as having an infinite margin for error—if you miss it, so what? However, the deer has a very limited margin for error—his chest. If you miss that 12-inch target, you fail to fill your tag. Or worse, you spend the rest of your hunt trailing a wounded, suffering deer. The smaller your groups in the target, the less likely either of those things will happen.

5. If you miss a deer you know it’s you, not the rifle.
I’ll let you in in a little secret—if you can shoot one-inch groups from a bench, and you miss a deer, it’s most likely your fault. It’s not the rifle. It’s not the scope. It’s not anything else. Some hunters are so cock-sure of their shooting ability that it could never, ever be their fault—so it must be the rifle’s fault. It couldn’t be the scope. It couldn’t be the wind or the rain. It couldn’t be the shooter! But they miss a deer and blame the rifle. They can’t pawn that rifle off on some unsuspecting nimrod fast enough.

There you are—now you know why you need an accurate rifle, one that can thread a bullet between two hairs on a deer’s shoulder. Or do you? What about using a less accurate rifle, maybe a pump like the deer trackers of New England carry? Or a lever gun like a few of those oldtimers who still roam the eastern woodlands? Their guns aren’t known for pinpoint accuracy, so are they at a disadvantage? Stay tuned.

2-Sorensen-PAbuck-2015-A

A quick high-shoulder shot from the author’s minute-of-angle rifle dropped this buck in his tracks at 140 yards,. (Steve Sorensen photo.)


sorensen-headshot_new2015_edited_415x500

Steve Sorensen has published articles in top magazines across the USA, and won the 2015 “Pinnacle” Award for magazine writing. He also writes an award-winning newspaper column called The Everyday Hunter®, and frequently contributes to the Havalon website. Invite Steve to speak at your next sportsman’s event, and follow him at www.EverydayHunter.com.

946 total views, 1 views today

Posted in Big Game Hunting, Deer Hunting, Guns & Ammunition, How to Hunt, Hunting Ethics & Education, Hunting Tips, Rifles, Steve Sorensen | Comments Off on Part One: The Great Sighting-In Debate by Steve Sorensen

Tips For A Big Fall Bass Haul

By Darl Black

Solve the puzzle of big fall bass, and
haul your personal best into the boat!

The author's favorite baits for fall bass fishing

The author’s favorite baits for big bass in the fall. Left column: dog-walking topwater; lipless rattle bait; Flat-sided crankbait. Right column: swim jig; swimbaits including a 5-inch model on a leadhead and 3.5-inch model on an underspin head. (Photo: Darl Black)

Trophy hunting isn’t solely for wild game in the fall. It’s also the best time to hunt for trophy largemouth and smallmouth bass across the continent. A big difference is that when an angler captures a big bass, he more than likely snaps a photo and releases the fish to provide thrills for other fishermen. (More on that later this week.)

As water temperature begins its gradual downward slide in the fall, bass instinctively begin feeding heavily in preparation for the coming winter slowdown. Bass which have been spending the summer prowling deep structure or shadowing suspended baitfish schools will now follow those open-water preyfish into shallower water for a feeding foray. In situations where largemouth bass spent the summer sulking in the deep weeds, the cool down is the signal to move more freely around shallower weeds in search of prey. All this feeding activity creates an opportunity to catch your PB bass (Personal Best).

Punch #1 — Fall Locations

Angler with his largemouth bass caught in the fall

Fall is a prime time for a really big largemouth bass. (Photo: Darl Black)

With northern tier waters cooling first, bass may begin their move in late September or early October when water temperature dips into the 60s. Schools of native shiners migrating to the shallows trigger the move. In southern states, lake temperatures begin cooling a little later. Here gizzard shad are likely the dominant baitfish in most reservoirs; shad schools move up the creek arms of large reservoirs and into shallow water with bass close behind.

Where bass go

Largemouth and smallmouth bass — particularly bigger specimens — are moving to feeding flats in shallower water than they are typically found most of the summer, therefore making them more accessible to the average angler.

Impounded waters (natural lakes and man-made reservoirs) differ substantially across the U.S. Therefore, the location of actively feeding bass is best addressed in general terms. In natural lakes, this may translate to largemouths actively feeding in shallower portions of weedbeds, or to smallmouths moving to gravel bars and rock piles nearer the shore. In some large reservoirs, largemouth bass will move into the major creek arms and then into the cover on adjacent flats. Smallmouth bass in reservoirs may move shallower on rock-studded flats, rip-rap areas or bluff areas. In smaller northern reservoirs which lack major creek arms, bass simply move to main lake shorelines.

The cover they like

In the big mid-fall picture, largemouth bass will generally be around relatively shallow weeds and wood cover while smallmouth bass favor more rocky or gravelly bottoms — often interspersed with weeds. Basically, if it’s fishy-looking cover in water less than 10 feet deep, fall is the time to target it.

The temperature they want

The party’s over when water temperature drops below 50 degrees. That’s when bass will begin to disappear from the shallows and make their way to winter haunts in somewhat deeper water.

Punch #2 — Fall Lures

Big smallmouth bass taken on a swim jig

Big smallmouth bass taken on a swim jig. (Photo: Darl Black)

With the focus on larger bass, skip the finesse baits you may have been using all summer. Bass are chowing, so go big in the fall. Although water temperature is in that magic range and baitfish are abundant in the shallows, bass will not feed ravenously every day. You’ll have to deal with non-aggressive fish at times. However even on slow days, stay shallow and keep checking different areas for active fish.

The type of lures selected should allow you to cover water quickly. Use baits which allow you to make horizontal presentations over weedbeds and across flats while bumping hard cover. Don’t spend a lot of time soaking baits in one spot.

Having chased autumn bass in both northern and southern states, often with guides or professional tournament anglers, I have settled on a handful of essential lures. My picks account for a majority of big smallmouth and largemouth bass I’ve taken during mid-fall in shallow water.

Food options for bass in the fall typically include shad, shiners or minnows — and in some northern smallmouth waters, schools of young perch. Therefore your lure selection should be representative of these preyfish.

Topwater dog-walking bait

Bass chasing baitfish in the shallows cry out for topwater. My favorite big bass lure is a cigar-shaped dog-walking topwater — one that sashays left and right with properly executed rod snaps. You’ll find many on the market today, but I’m old school so I go with the Zara Spook.

Lipless rattling crankbait

Big fall bass seem to be attracted to the tight wiggle and rattling vibration of this special style of crankbait. Interrupt your steady retrieve every few feet with a pause of several seconds. Don’t let the popularity of the standard sinking model cause you to overlook using a suspending model for fishing over submerged weeds in natural lakes — the pause does not entangle vegetation.

An angler catching her personal best smallmouth bass during fall

Anticipate a PB (Personal Best) smallmouth during the fall shallow water bite. (Photo: Darl Black)

Diving flat sided crankbait

When I work points, rocky banks, rip rap or stump-lined banks of a secondary creek channel on a reservoir, my go-to bait is a flat-side coffin-lip crank with a depth range of 6 to 8 feet. Of the many very good ones on the market, Rapala’s DT Flat model is one of my favorites. In clear water, I’ll go with a shad or shiner finish, but in dingy water I turn to Old School (intentionally faded chartreuse) or Golden Shiner.

Swim jig

Imagine a cross between a spinnerbait and a traditional jig with a trailer, and you’re thinking of a swim jig. A swim jig has the line tie in the tip of the nose and sports a thinner stranded skirt with a twister-style grub as a trailer rather than a craw chunk. A swim jig can be worked with subsurface swimming like spinnerbait. However, the jig gets in and out of cover better than a spinnerbait. Also, a swim jig can be slow rolled along bottom cover, bumping stumps if desired. Many swim jigs are offered in baitfish color schemes. Terminator produces one of the best swim jigs, including Silver Shiner, Emerald Shiner, Perch and Sunfish patterns.

Swimbait

A soft plastic swimbait with a shad-style thumper tail is about as realistic as it gets in presenting a lifelike preyfish lure to bass. I like to rig a 5-inch Lunker City Swimfish on a ½-ounce fish-shaped leadhead for largemouths. For smallmouths, I’ll slip a 3½-inch Larew Sweet Swimmer on a Road Runner ⅜-ounce Classic Runner (an under-spin lure). These swimbaits have pretty much replaced traditional spinnerbaits for me in the fall. I can work these baits in the open water above a submerged weedbed or deeper over feeding flats. The profile and action of a swimbait seem to have more appeal to bass than a skirted spinnerbait.

Now you have both pieces to the puzzle — location and lures — so… go fish!


About Darl Black:

Outdoor writer Darl BlackDarl Black is a lifelong freshwater angler and veteran writer/photographer. Darl tackles a wide variety of fishing related stories for print publications and websites. Of all fishing, angling for smallmouth bass is his favorite pastime.  He may be reached for assignment at darlblack@windstream.net.


Are you a part of the Havalon Nation?
Sign up today!

[hs_action id=”10664″]

932 total views, no views today

Posted in Bass Fishing, Darl Black | Comments Off on Tips For A Big Fall Bass Haul

How to Stay Warm

How to Stay Warm

Staying warm on a winter hunt depends on what you wear and what you do.
Steve Sorensen

My brother and I once got stuck on top of an Alaskan mountainside. We stashed most of our gear and fought our way up through the alders to find a black bear we spotted above the tree line in the Resurrection River valley. The snow was melting on the hillsides, but melting snow doesn’t mean the air was warm. It wasn’t. The cold air and the wind bit through us and we shivered uncontrollably through the night.

We were prepared, or so we thought. We had space blankets, those shiny foil-like sheets that are advertised to save lives in emergencies. Maybe they’re effective if you’re lying in the front yard where the grass is soft and the ground is level, but there were no flat spots up there and spruce needles covered the ground. Those needles shredded our space blankets and in minutes they were useless. It would be seven long hours until the sun rose. I was as close as I ever want to be to hypothermia and I actually wondered if I might freeze to death. Believe me when I say I don’t want to trust a space blanket again.

Sorensen Alaska Mountain

Spending the night up on that Alaskan mountainside was an adventure, but it was no fun at all. A space blanket did nothing to keep us warm. (Steve Sorensen photo)

I’ve battled the cold on other occasions. Most hunters have never hunted with the temperature at 26 degrees below zero. I have. I was far from Alaska this time — only 75 miles from my home in Pennsylvania and I was hunting deer. Despite the deep negative reading on the thermometer I stayed warm, and unlike the Alaska bear hunt, this hunt was successful.

You might think if I can do that I would never get cold, but you’d be wrong. On the opening day of the 2019 New York firearms season I wasn’t prepared. The temperature was a brisk 25 — on the positive side of zero — and I sat in a treestand with the wind (at only 13 mph) cutting through my clothing.

My clothing would have been enough insulation if I had also been wearing a light rain jacket to block the wind. I also could have put the hood up to keep the cold off the back of my neck. Instead, the old North wind blew through my clothing, robbed me of my precious heat, and made it a lousy day.

These experiences and others have taught me a lot about staying warm, and the key is not those hyped-up advertisements that tell us this jacket or that coat will keep us warm. Any old-timer will tell you the real secret is layered clothing, but you need the right layers.

What You Wear:
Clothing is only the starting point to keeping warm, and without the right clothing you can’t possibly beat the cold. Consider carefully what you will wear because conditions don’t always call for the same clothing.

Sorenesen - Built to Survive

Deer are built to survive winter, and do amazingly well in frigid temps. You aren’t built for winter, so the better you can adapt to it, the better your chances of bringing home the venison. (Steve Sorensen photo)

1. Undergarments. Underwear is your foundation, and a foundation is always critically important. Proper underwear will immediately trap warm air your body generates. Make sure your underwear is close-fitting (not too tight and not too loose) so when you move the fabric moves against your skin. It causes a little friction, and friction produces heat. Here, a warning is in order. Do not wear cotton. Cotton traps moisture and once it’s wet won’t dry out. I learned that the hard way. On another Alaskan mountainside my boxers were sweat-soaked, and the only way for me to stop shivering was to cut them off. Modern polyester fabrics transport moisture from your skin to outer layers where it can evaporate.

2. Layers. Your layers should be porous to trap air heated by your body. Air pockets in the fabric and between two, three or four layers of fabric slows the transfer and loss of heat. It’s better to layer loose, light garments than thick, heavy ones. Glove liners work on the same principle. One or two thin layers under a thicker outer glove will help keep your hands warm. Do not layer-up like the Pillsbury doughboy or your movement will be inhibited, you’ll get tired, and being tired will make you cold. I prefer button-front shirts and zip necks. Use them like thermostats — open the neck to let excess heat escape. Close to keep heat from escaping.

3. Windbreaker. Your layers might be enough if the wind isn’t blowing, especially when you’re moving. But if the air is cold even a mild wind may nullify your layering effort. So wear a rain jacket when it’s windy. They’re not just for rain; high quality, breathable raingear makes an effective windbreaker. Without a wind barrier the wind will blow your heat away.

Sorenesen - Insoles

If any of your Christmas gifts came wrapped in sheets of closed-cell foam, save it. Remove your boot insoles and use them as patterns to cut extra insoles for your boots. Your boot insoles are shaped and designed to be next to your feet, so put the homemade insoles under your boot insoles to add extra insulation between you and the cold, cruel ground. (Steve Sorensen photo)

What You Do:
While clothing is the starting point, it can’t do the whole job of keeping you warm. You also need to produce heat. Everyone knows walking generates heat, but what if you’re on a stand, and not walking? Here are some limited activities that can produce heat for you.

1. Standing — Many deer hunters hunt from treestands. They have a harder time staying warm than the guys on the ground. They’re up where the wind blows, they can’t use the protection of ground contours and terrain features, and moving to produce heat is difficult. Modern treestands encourage you to sit, but you produce less heat energy while sitting. And with your knees bent the path your blood follows to and from your lower legs and feet is not as direct. If you’re sitting in a treestand, stand up every fifteen to twenty minutes so your blood circulates through your legs unconstricted.

2. Increasing your heart rate — An uptick to your heartbeat will help keep you warm. Caffeine will help so if you’re a coffee drinker, carry a small thermos. Chocolate also has caffeine. Resistance exercises will also increase your heart rate. Do push-pull isometric exercises with your hands. Shrug your shoulders. Stretch your legs. Twist at the waist. Stand on your tip toes. Muscle movement from resistance exercises helps keep your blood flowing and creates friction.

3. Generating fiction — You can discover many ways to create friction with barely any movement. Rub your hands together. Put them between your knees and rub them. Wiggle your toes. Shake your boots to rub your feet against your socks. Rub your arms, your legs, your backside. Friction releases energy and more friction releases more energy.

4. Eating — Eating generates heat by putting your stomach to work. Nibbling on snacks when it’s very cold can help keep your stomach active. Nuts, jerky, raisins, granola bars — These complex carbohydrates give your stomach more work to do than refined sugars. Anything that keeps your mouth going will help — even chewing gum because the act of chewing also generates heat. Drinking hot liquids helps warm your body core. Water is important in cold weather because you can become dehydrated without realizing it. You’ll feel tired if you become dehydrated, and your body will work against itself by becoming less active in order to conserve water.

5. Breathing — Your nose is built to warm the air you breathe. Your mouth lets heat escape. When we’re overheated we often pant from our mouths in order to cool our bodies. Even if you don’t have a big yapper, that oral cavity is cavernous compared to nasal passages and you lose a lot of heat from it, so breathe through your nose, not your mouth. Keeping your mouth closed while chewing also forces you to breathe through your nose.

6. Conserving — Cover exposed skin. Button the top button of your shirt or jacket, or use a neck gaiter. Cover your ears, your nose, your lips. Exposed wrists will cool the blood heading for your fingers, so cover them. Your fingers will help keep each other warm if you curl them into fists. Insulated insoles are underused, and their cold-weather benefit is unadvertised. You don’t have to pay a lot. Just cut thin sheets of closed-cell foam (as thick as your boots allow) into foot-sized insoles. Felt works even better. That extra layer between the soles of your feet and the cold, merciless ground will conserve warmth. (You can also purchase high quality insulated insoles at a reasonable price.) Finally, those air-activated hand and foot warmers will help. Some of them have a sticky side so you can position them at strategic places. When it comes to staying in the deer woods all day, knowledge is warmth.

Your body is working hard to produce heat, so conserve it any way you can. Whether you’re stranded on an Alaskan mountaintop, or deep in an eastern forest, whether you’re hunting during an unusually cold November or a frigid January muzzleloader hunt, you’re not playing a home game. You’re on the deer’s turf, and you’ll enjoy it much more and be able to keep at it longer if you learn how to stay warm.
***


3-StillnessAndSolitude

When “The Everyday Hunter” isn’t hunting, he’s thinking about hunting, talking about hunting, dreaming about hunting, writing about hunting, or wishing he were hunting. If you want to tell Steve exactly where your favorite hunting spot is, contact him through his website, www.EverydayHunter.com. He writes for top outdoor magazines, and won the 2015 and 2018 national “Pinnacle Award” for outdoor writing.

3,171 total views, 2 views today

Posted in Antelope Hunting, Archery Hunting, Bear Hunting, Big Game Hunting, Bowhunting, Buffalo Hunting, Coyote Hunting, Deer Hunting, Elk Hunting, Hunting Safety, Moose Hunting, Outdoor Life, Steve Sorensen | Comments Off on How to Stay Warm