Tips To Help You Decide Which Trail Camera To Choose
By Steve Sorensen
You’ve finally decided to spring for a trail camera. You’ve waited a long time because you’re “old school.” Maybe you even wonder what your grandfather would have thought.
If you’re “old school,” my hat is off to you. There is something to be said for the traditional ways. But does that mean you use a magnetic compass instead of a GPS? Punkin balls and smooth bores instead of modern ammo from a rifled barrel? Some scraps of lumber nailed in a tree instead of a new load-tested, safety-first climber? You get the picture. It’s called progress, and progress isn’t all bad. Once in a while you gotta say, “Never mind what Grandpa would have thought.”
Our grandfathers could never have imagined the hunting tools we have today. Fifty years ago Grandpa might have tied a piece of thread across a trail to determine roughly when a deer walked by. Today we can know exactly when a deer shows up at a certain place, and we can see the actual deer, plus every other animal that passes by.
Here are the hows, the whens, and the wheres of using that new trail camera.
HOW TO CHOOSE A TRAIL CAMERA
Use the Internet to compare specifications of the trail cameras in your price range, but place a high priority on what’s easiest to use. That advice isn’t just for beginners. It’s for everyone – because the easier a camera is to use, the less time it takes to check them, and the less time you spend spreading your scent around.
I use the Bushnell Trophy Cam and the Moultrie Game Spy M-80. Those aren’t the only ones to consider, but I like them because they have the video and still features I want, and they’re fast and easy to use. They get terrific pictures, too.
WHEN TO USE YOUR TRAIL CAMERA
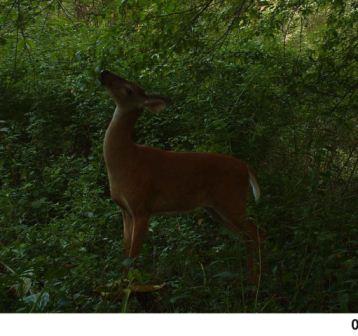
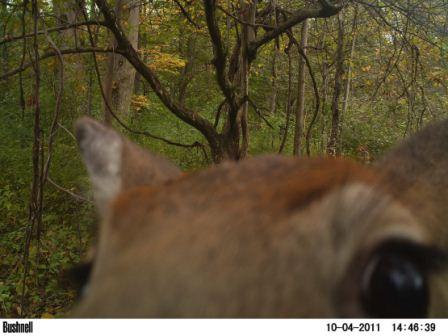
Setting up your trail camera on a licking branch, or making your own, can give you a good read on bucks in the area.
Trail cameras can be used all year ’round, but the best times to use them is when bucks are growing their antlers and during the days up to and including the hunting season. Some hunters look for shed antlers in the spring so they know what bucks survived the hunting season. Using trail cameras in the dead of winter can give you the same information.
Virtually any time is a good time to use scouting cameras, as long as you have the time to check them.
WHERE TO PUT YOUR TRAIL CAMERA
Naturally, we use “trail cameras” on trails. Finding good deer runways takes a little time, so look for trails whenever you’re in the woods. A great time to find trails is before spring green-up when they’re a lot more obvious. While looking for shed antlers or hunting spring gobblers, take note of good locations for trail cameras.
However, trails aren’t the only places to set up your cameras. You can set them up at food plots, or along the edges of cropfields where deer feed. When using your cameras at natural food sources or along trails to food sources, remember that food sources change.
Set cameras at “licking branches” during the summer and fall while bucks are in bachelor groups. These are places where they lick, chew and rub their scent to tell other bucks “I’m in the game.” They’re sizing up their competition.
Find a licking branch or make your own. Choose a flexible limb about five feet high and deposit a drop of lure from a buck’s pre-orbital gland (www.SmokeysDeerLure.com) on it. You should get bucks posing for pictures, nose on the branch, wondering “Who’s the new guy?”
Next post: Five Tips for Setting Up Your Trail Cameras
Put Havalon Knives On Your Buddy List For Christmas – Click Here To Shop Havalon.com
4,406 total views, no views today


