By Tracy Breen
Why Tracy Breen is an expert on hunting from
ground blinds, and how you can be too.

A well concealed blind is the easiest way to outsmart the eyes of a whitetail. Branches, large trees, standing corn or tall weeds can be used to break up the outline of a pop-up blind.
If you’re an avid deer hunter, you’ve probably noticed that more treestand companies are offering pop-up ground blinds. Many companies are jumping on the ground blind band wagon because the average deer hunter is aging. More treestand hunters are becoming ground blind hunters because they’re safer and more comfortable to hunt from than treestands.
I have lots of experience with ground blinds because I have cerebral palsy, and although I can hunt out of treestands, I prefer hunting deer from the ground. I have been doing this for over a decade, and have made almost every mistake a ground blind hunter can make. Learning from them has enabled me to take many deer from the ground. Below are some of the most common mistakes I’ve made and see many other hunters making – and my advice on how you can avoid them.
MISTAKE 1: Hunting From A Pop-Up Blind Right After You Put It Up

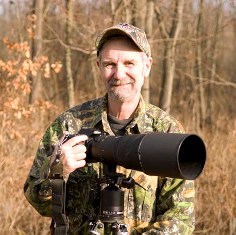
One advantage of hunting from a pop-up blind is you can easily video record your own hunts. This camera arm made by Pine Ridge Archery was designed specifically for
pop-up blinds.
Typically, whitetail deer have a very small home range. They often bed in the same areas daily, feed in the same areas and take the same path between the two. They know their home turf as well as my wife knows our living room. If I bring home a new couch, she’ll instantly know there is something new in the living room. When a pop-up blind is put up, deer often jump out of their skin and run away when they first see it. To fix the problem, the blind should be put in the woods a week or more ahead of time so the deer can adjust to it. If that’s not possible, put the blind in an open area where the deer can see it from a distance and approach it at their leisure. Adding a deer decoy can also help the deer overcome this problem.
MISTAKE 2: Not Brushing the Blind In
When I hunt from a pop-up blind, I brush it in as much as possible unless I am hunting an open field. Many hunters place a little bit of brush around a blind and call it good. I make the blind part of the landscape. I might put the blind up against a backdrop like the roots of a fallen tree, or I’ll set the blind up in a depression in the ground to help break up the outline of the blind. Then I put as many dead branches as possible on and around the blind to make the blind disappear. Many blinds have brush loops on them that can hold limbs or twigs. Check out Carnivore Hunting Products. They make a product called the Branch Clamp that will clamp branches to a blind. A brushed in blind will often be overlooked by deer and other game animals.
MISTAKE 3: Not Being Scent Free

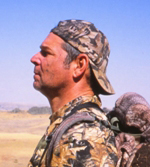
Wearing dark clothing is a must when hunting
from a pop-up blind.
A pop-up blind is made of fabric and like clothing, it will hold the smell of the environment it is kept in. If the blind is stored in a musty basement ten months a year, deer will probably smell the blind long before they see it. To eliminate this problem, air out the blind before taking it to the woods and spray it down with a scent killer spray. Don’t store the blind in a garage, pickup truck or in a closet next to the potpourri scent used to keep the house smelling fresh. If you leave a blind out for long periods, all odors will dissipate – that’s one advantage of leaving a blind in the woods.
MISTAKE 4: Assuming that Moving Around In the Blind Is OK
Hunters often think that moving around in a pop-up blind is acceptable because the blind will conceal movement. This is only partially true. Last year, I had a record class mule deer bust me when I tried to clip my release onto the bow string. Deer can see into a blind. To avoid this problem, I often wear black and shut most of the windows except for one or two. When a deer looks in, they see only black.
MISTAKE 5: Over-Reliance On a Blind

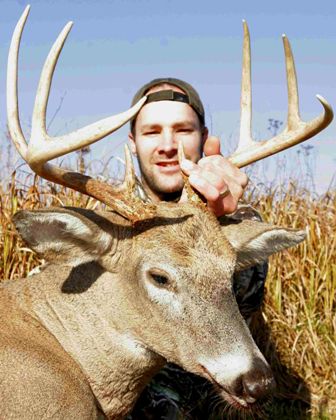
Hunting from the ground can be exciting and rewarding.
Don’t assume the only way to hunt from the ground is from a blind. In the last five years, I’ve killed several bucks while hunting with a bow from the ground without a blind. I wear a 3D leafy suit and hide in the brush. For hunters who don’t own a blind, this is a great option. Think of it as a blind you wear.
Hunting from the ground can be exciting and rewarding. Is it more difficult than hunting from a treestand? Yes. However, deer are easier to outsmart than most people realize, and by avoiding the mistakes discussed above, killing a buck on the ground is very possible.
***
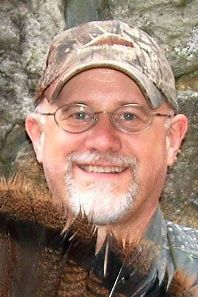
 About Tracy Breen
Tracy is a full-time outdoor writer and consultant in the outdoor industry. He works with a variety of outdoor brands and television shows including Havalon Knives and the MeatEater. Learn more at www.tracybreen.com.
Click here to read more articles by Tracy Breen.
Shop now for the best skinning knife.
![]()
")
")