By Judd Cooney
With turkey season right around the corner, use this simple step-by-step guide to preserve your trophy gobbler!
“Cape my turkey! I don’t want a head mount of that plumb ugly, wattled, featherless head. Besides, it’s full of holes and ain’t got any antlers!” quipped my client about his Iowa longbeard.
Caping, pelting or skinning: call it what you want, it’s easy to do. The end result, when the job is done right, is a turkey skin complete with neck, back and tail feathers that can be finished into a very classy looking wall mount to decorate your den and commemorate your turkey hunt.
What You’ll Need:
Turning a turkey into a wall mount requires a very minimum of equipment.
- A nice gobbler, dead
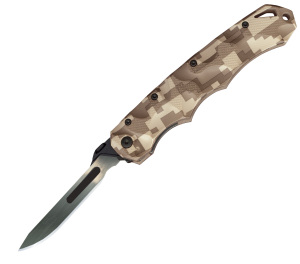
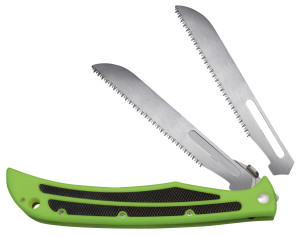
- A super-sharp knife such as the replaceable blade Havalon Piranta or Baracuta
- A common kitchen spoon
- A large piece of cardboard or fiberboard
- Some stick pins
- A box of Borax laundry soap booster available at any grocery store.
- Optional: If you want to back the turkey cape you’ll also need a large piece of colored felt or some felt edging and hot melt glue or contact cement to finish the mounting.
Step-By-Step Caping
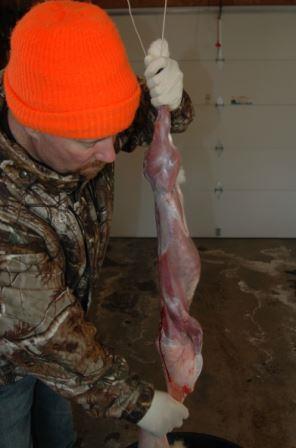
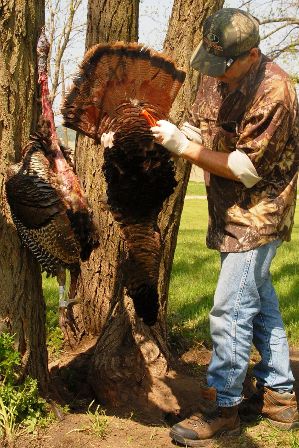
1. Step one is to drive a smooth box nail or common wire nail into a tree, post or wall about nose high (on you, not the turkey). Hang the gobbler by pulling the lower beak over the nail with the breast side in and wings outward. Wipe all blood and dirt off the feathers and smooth them down gently with a damp paper towel. Wipe any blood from the feathers with a wet rag or paper towel. Then sprinkle some of the Borax onto the bloodied plumage, let dry and wipe off.

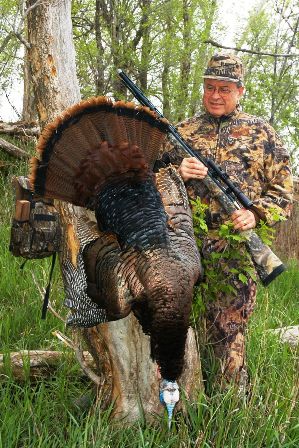
With the gobbler hanging on a nail, work your way down each side with the knife. (Photo: Judd Cooney)
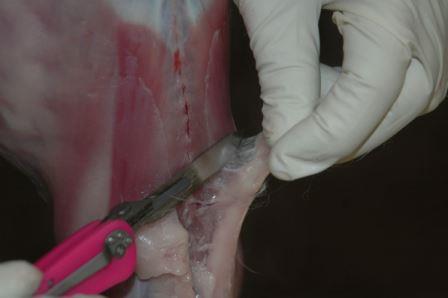
2. Make the first cut around the neck where the feathers start, just below the featherless head and lower neck. Turkey skin is tissue paper thin, so don’t overdue the tugging and pulling as you skin your way down.
3. Look for the featherless line that runs along the side of the neck and body where the upper feathers meet the lower body feathers. This narrow featherless area is where you make a lengthwise cut from the neck down over the base of the wings and along the lower side to the base of the tail. Make exactly the same cut along both sides of the bird. Starting at the base of the neck, carefully skin the cape away from the body. Keep as much meat and fat as possible on the carcass instead of the cape – this will make your fleshing job easier later on. Make sure you keep the feathers as clean and undisturbed as possible as you go.
4. Skin down to the base of the heart-shaped butt of the tail where the tail feathers sprout from, and cut this fleshy appendage containing the tail vertebrae free from the body at the last joint. You now have your turkey caped. Nothing to it!
Step-By-Step Preserving
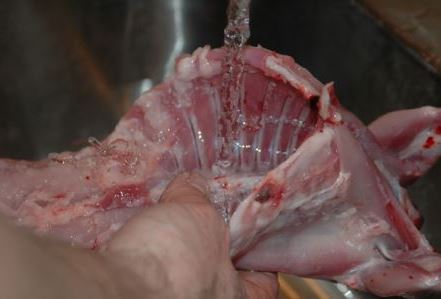
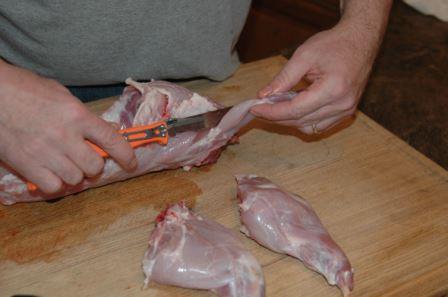
1. Begin fleshing your trophy by removing as much of the clinging meaty tissue and fat as possible from the inside of the skin. Use your skinning knife or the edge of the spoon. Take your time and be gentle while you scrape. When you get to the butt of the tail, lay the cape on a flat surface and carefully trim and scrape as much of the flesh and fat away from the base of the feathers. Don’t leave this fleshy appendage intact, as it will inhibit the curing and may cause it to rot and the tail feathers will fall out. When you get all the flesh and buttery yellow fat trimmed away, the individual tail feathers should still be attached to the skin on the back side. This is probably the most critical step in the whole operation so take your time and use the knife and spoon judiciously to clean the base of the feather shafts as free of fat and flesh as possible.
With the cape removed, you have one intact strip of feathers on a piece of skin from neck to tail. (Photo: Judd Cooney)
2. The next step is to stretch the cape into its final form. Lay out a piece of cardboard, fiberboard or plywood large enough to accommodate the cape. Make sure the feathers are smoothed out and properly positioned, and carefully position the cape, feather-side down, on the board. Get it right, because once the skin is cured and dry it will be difficult to re-position. Place pins or small nails around the outside edge of the skin keeping it even on each side. Spread the tail and pin it securely into the fanned position.
3. Once the turkey cape is properly stretched, sprinkle Borax liberally on the skin and work into the edges and around the tail feathers, leaving excess on the base of the tail to absorb the fat and moisture. Be generous with the Borax – later you’ll easily brush or shake off the excess. Leave the cape on the board until thoroughly dry and cured.

The finished product is impressive, showing off some of the most iridescent feathers on the turkey. (Photo: Judd Cooney)
When finished the cape can be hung on the wall as is, or you can back it with a solid felt backing. You can also add a felt border by using hot melt glue or a good grade of contact cement such as Barge to glue the outer edges of the cape to the backing. Carefully re-position any errant feathers, shake and wipe off excess Borax with a damp cloth or towel. Now you have yourself a great trophy for your den wall.
About Judd Cooney:
 For the past 30 years, Judd has been writing and photographing full time in addition to running his guiding and outfitting operation, spending 18-20 hours a day trying to avoid working an 8-5 job. He has articles and photos in many outdoor magazines every month, covering bowhunting, muzzleloader hunting, big game, small game and predator hunting, plus turkey, waterfowl and upland game hunting. He can be reached through his website, www.juddcooney.com.
Prepare for those spring gobblers with
some must know secrets from the pros!
Download your FREE copy of our eBook below:
6,879 total views, 1 views today


