
Aiming for the Whitetail Record Book
What to do and what to expect after shooting a big deer.
by Steve Sorensen
Countless hunters dream of taking a record buck. Few actually do it. If you’re fortunate enough to get a “book” qualifier on the ground, your quest isn’t over. Harvesting the buck of a lifetime doesn’t mean the deer hunting world will parade you around on their shoulders. Some people might show up to discredit you. So what you do after the hunt is as important as all the scouting, setting treestands, and everything that puts you in position to pull the trigger or release the arrow.
The deer hunting world has several record books, each with different standards. The Boone and Crockett Club is the granddaddy. It keeps records of all species of North American big game animals. Only a small percentage of hunters ever kill a B & C whitetail. Odds are I’ll never have one in my sights, but other record books aren’t beyond my reach. Nor yours. So if you ever get a record book buck on the ground, here are some things you need to know.
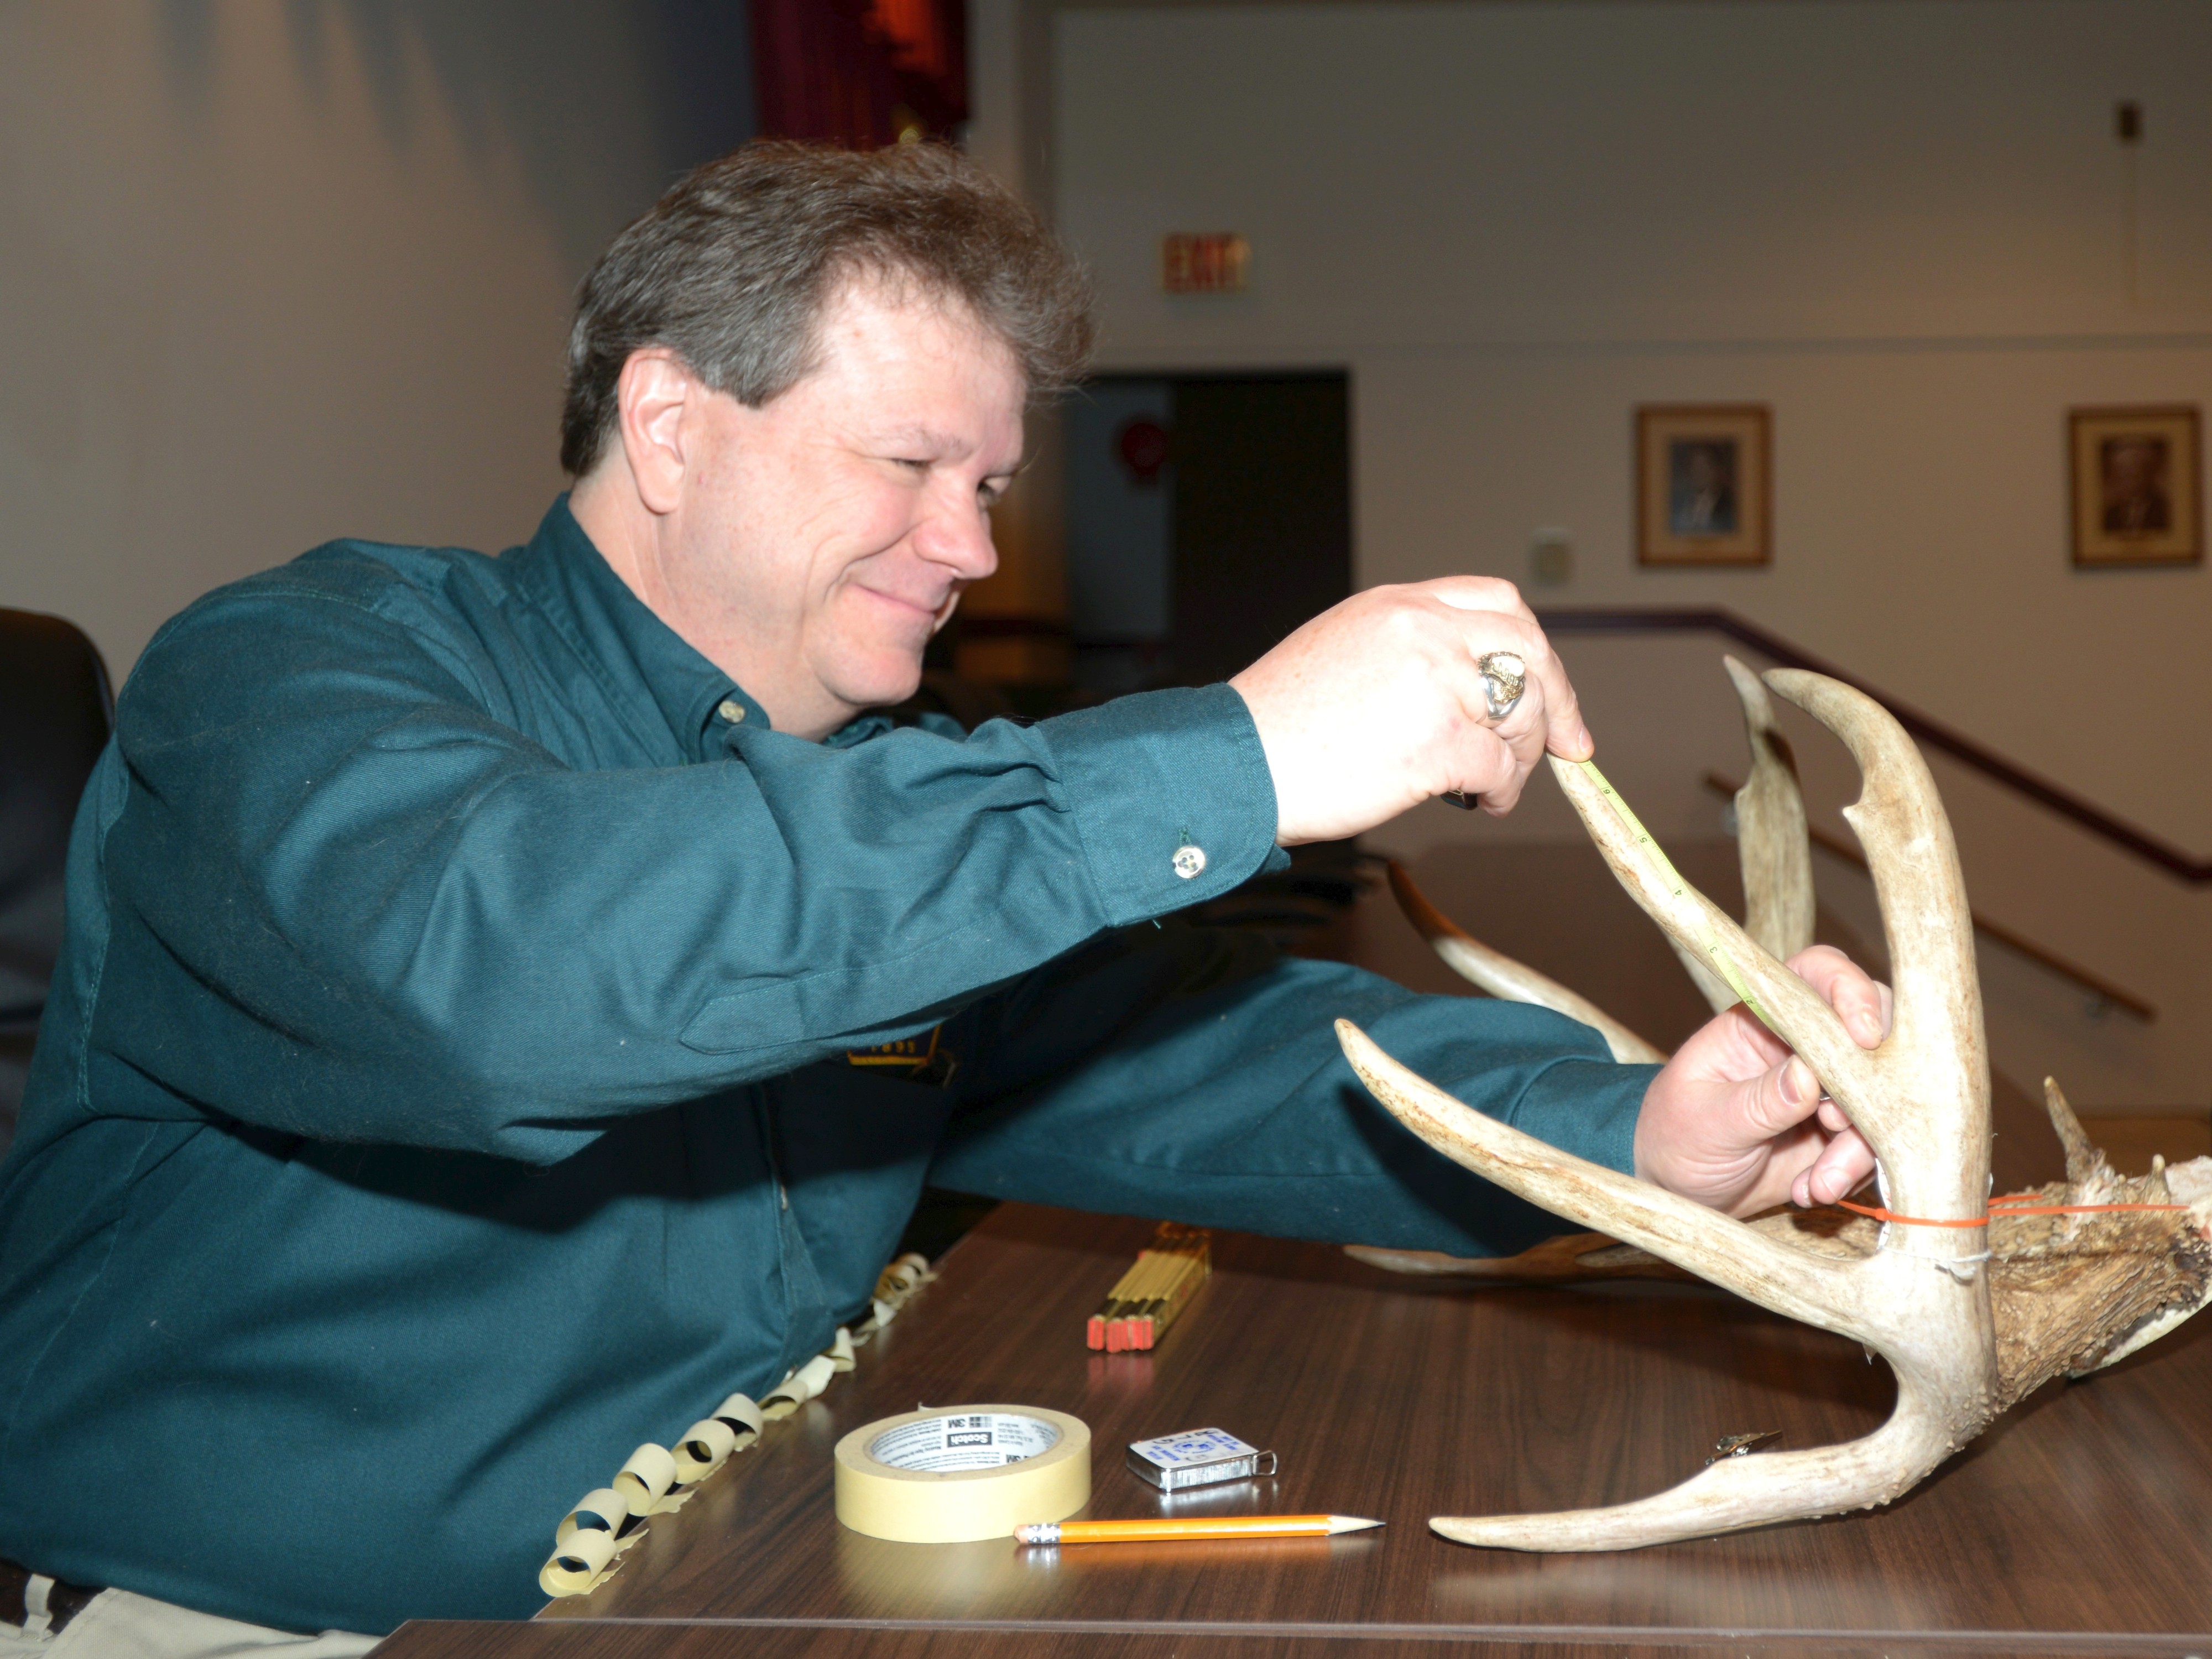
Bog D’Angelo is an official Boone and Crockett measurer, and scores many bucks for Boone and Crockett as well as the Pennsylvania state record book. Here he’s measuring the first circumference on a buck’s left antler. (Photo by Joe Kosack, courtesy of Pennsylvania Game Commission.)
Record Book Basics
1. Plan for an official score
Before you get an official score it’s a good idea to get an approximation, so have someone familiar with the scoring system measure your antlers for a rough score. If you think you’re in the ballpark, contact the one of organizations. They’ll direct you to an official measurer who knows the rules and procedures. He is a volunteer, so arrange your session at his convenience.
2. Drying period
Most organizations require a drying period from the date of the kill. Every bone has moisture in it, so the measurements that will be taken — the tines, the main beams, and the circumferences — all shrink as they dry. The spread also shrinks because the skull plate from a freshly killed deer is made up of about 20% water. When the skull plate dries the space between the antlers is likely to contract. Most shrinkage happens during the first 60 days, and the inside spread can easily shrink an inch or more. A drying period puts all bucks on somewhat equal ground; otherwise if you and your buddy kill twin trophies, and his buck is measured the day after it was killed but yours is scored months later after it shrunk, they wouldn’t be twins.
3. Document it
You’ll probably be asked to write up an account of the hunt, covering the main factors involved. The best time to do that is within a day or two after the harvest. When did you shoot it? With what weapon? Where (county and state)? What noteworthy details go with the story? (More about this later.) If the score qualifies your buck for a record book, you’ll probably need to submit a photo along with these notes on the hunt, and sign a fair chase affidavit attesting to the fact that your account is true and that you used legal means to harvest the buck in the state where you were hunting. At this point, the rest is up to the scoring organization. They may come back with a few questions, but the decision is up to them.
Some Do’s and Don’ts
Record book basics are the easy part. It would be nice if that’s all there was to it, but it’s a good idea to think about some other things, even before you drag your buck out of the woods. Why? Because sometimes, even if the issues are unambiguous, big bucks get the attention of armchair deer detectives, people who love to debate, and the ones who raise questions about everything. In a day when virtually everything appears on social media, inaccuracies creep into the stories, and people draw conclusions while leaving out important details. How do you cope with that?
The bottom line is there’s little you can do about what others say, but you can do a series of things that will help establish the truth about your kill, avoid controversy, and get ahead of any stories that may stray from the facts.

1. Don’t keep secrets.
This is first in importance. If you keep secrets, people will assume you’re hiding something. So, tell someone about your kill — a person with credibility who has no relation to you and nothing to gain. A game warden, a taxidermist, maybe a policeman you know — a trustworthy person who will get the story straight.
In telling your story, stick to the basics. You don’t need to tell everyone where your treestand is, but don’t withhold the essentials. A laundry list of facts isn’t necessary — just make sure the facts you tell are all consistent with each other. Here’s an example. A hunter followed a blood trail until it disappeared. He tells one person he found the buck about 200 yards from the end of the blood trail. He tells another person he found the buck about 400 yards from where he shot it. Which is it? Both. Although these are different facts, and they are consistent with each other, it’s best to tell the same facts the same way.
2. Do get good photos.
Magazine editors have an inside joke that there’s an unwritten rule about deer photos — the bigger the buck the worst the photos, and the fewer of them. Do your best to break that rule. Your buck deserves good photos. The secret to good photos is to take lots of them. Use different backgrounds, different angles, different lighting. Don’t settle for one or two quick cell phone shots. Unless darkness falls quickly, start with a good field photo right where your buck died before you field dress it. Photos detailing the recovery of the deer will also be good to have. Include someone else in the photos if possible. A hunt is always better when shared, it helps document your hunt, and involving another person gives more credibility.
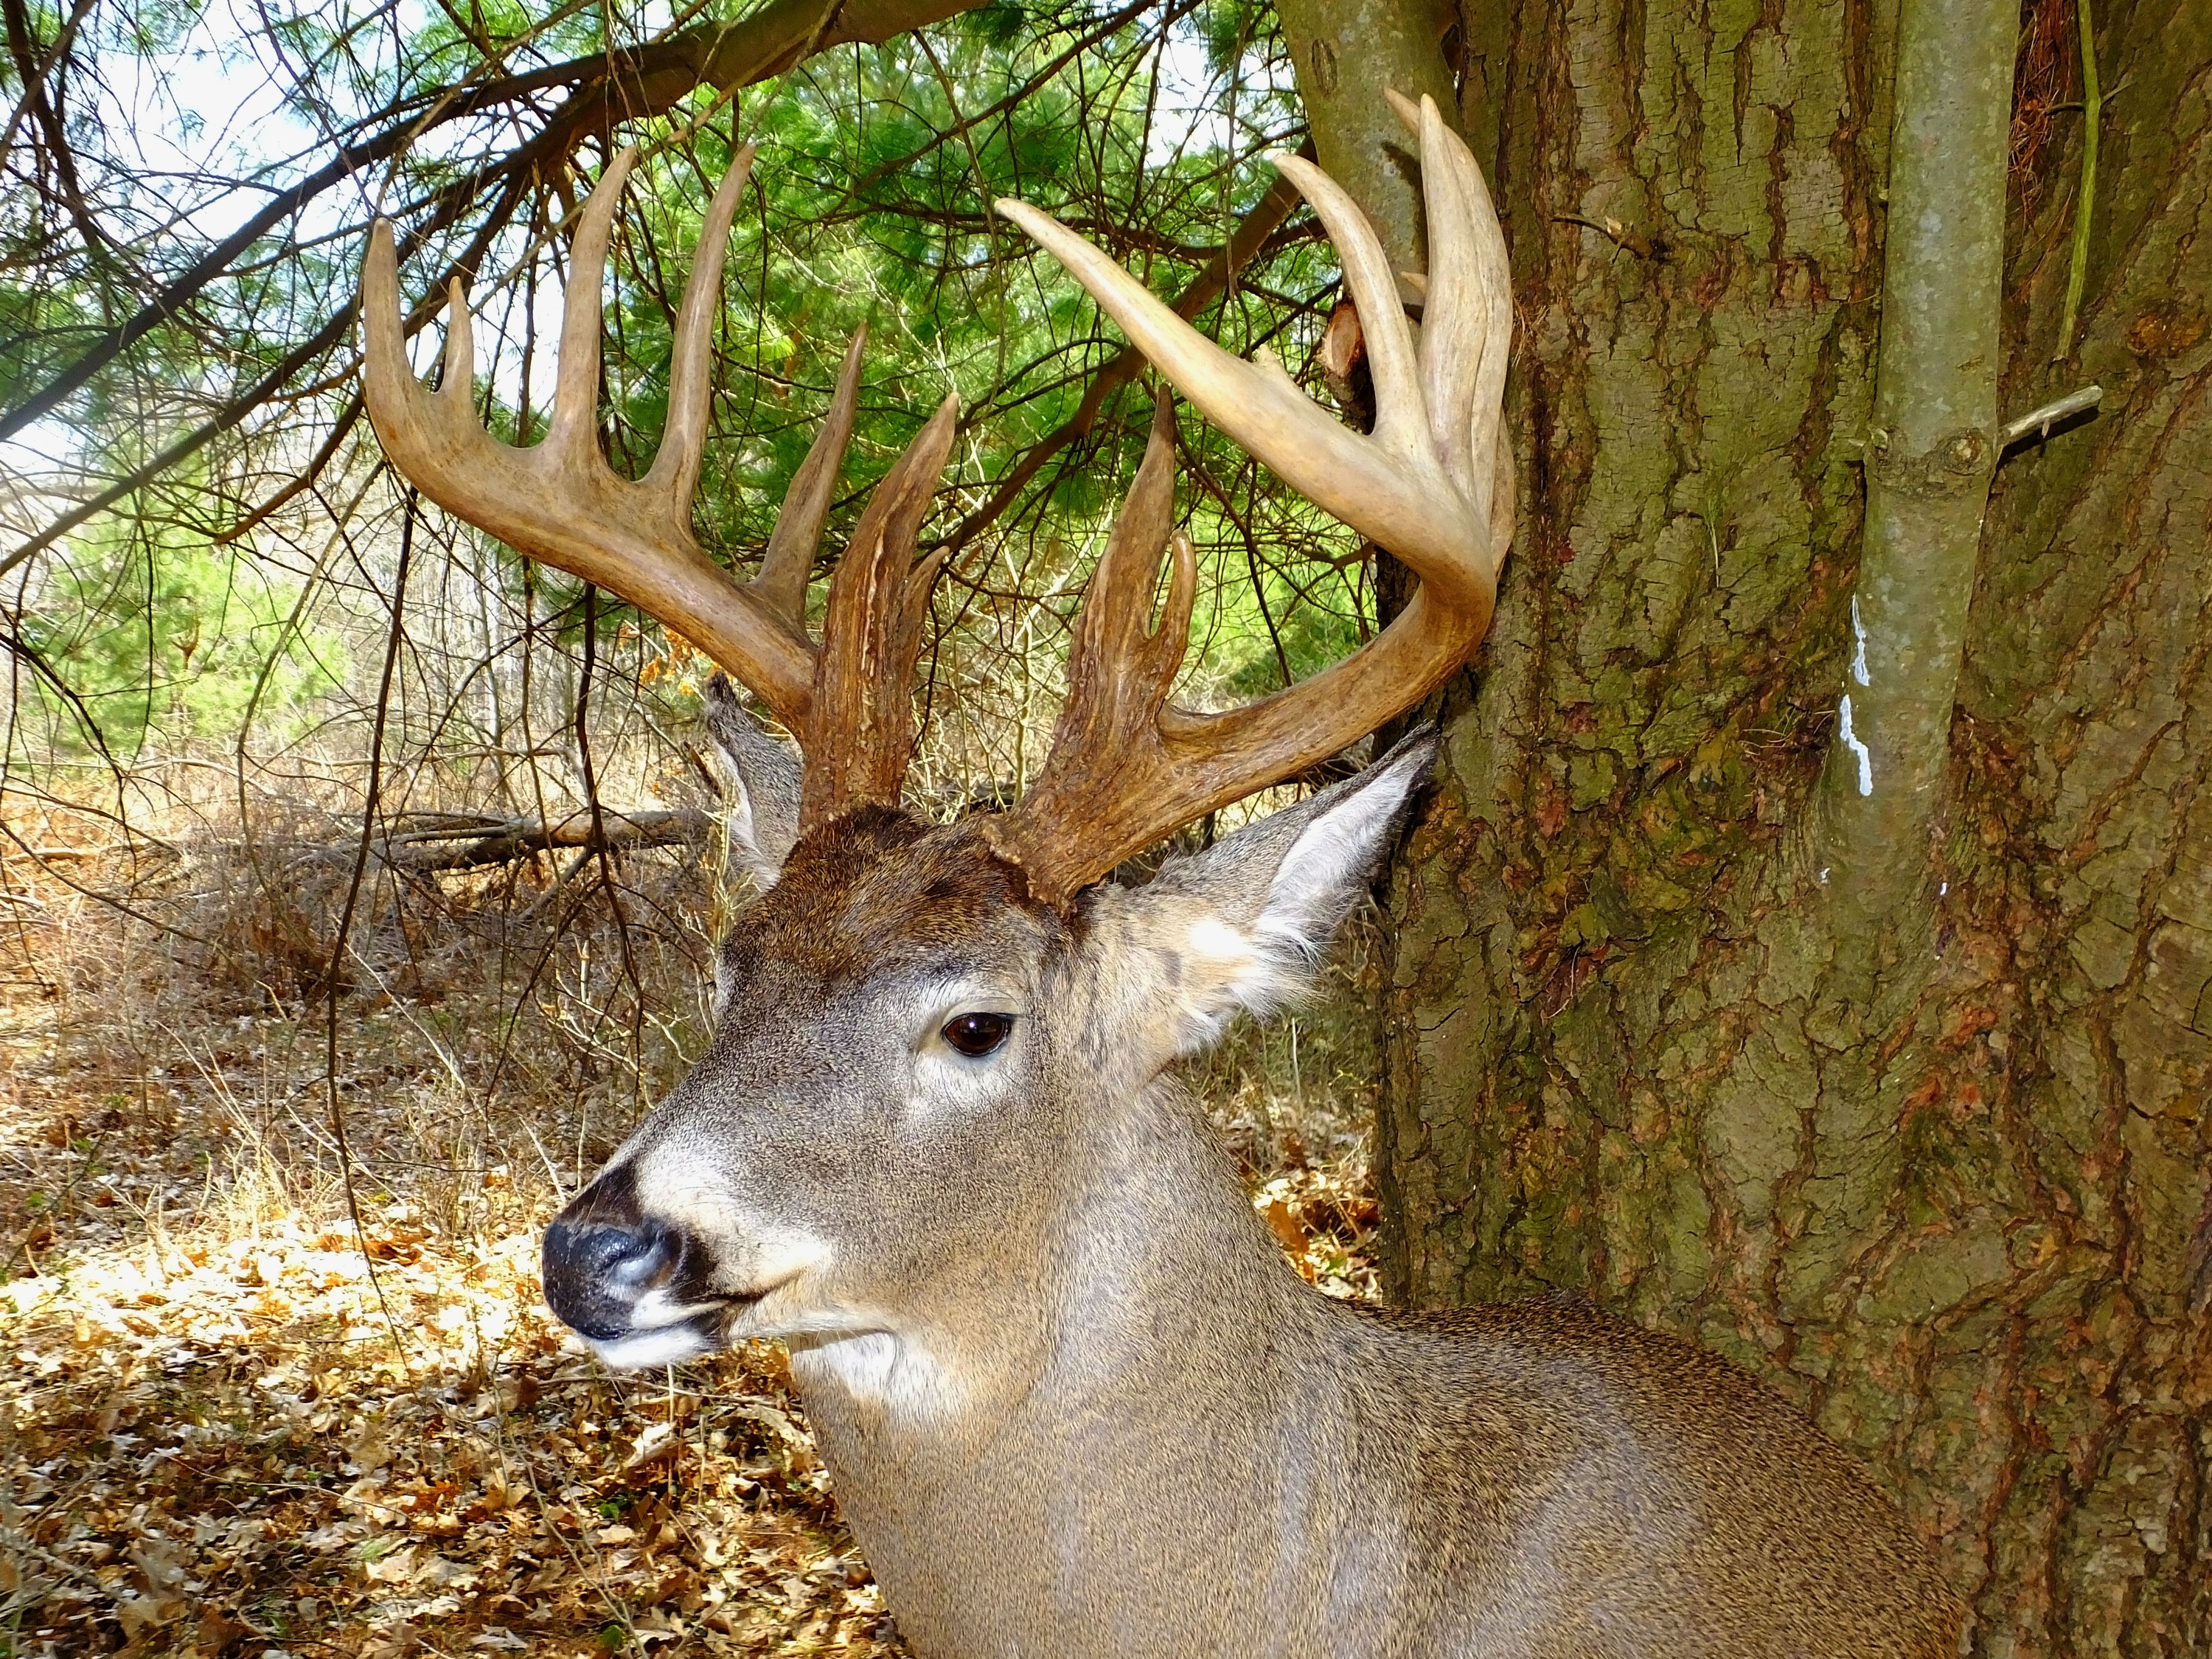
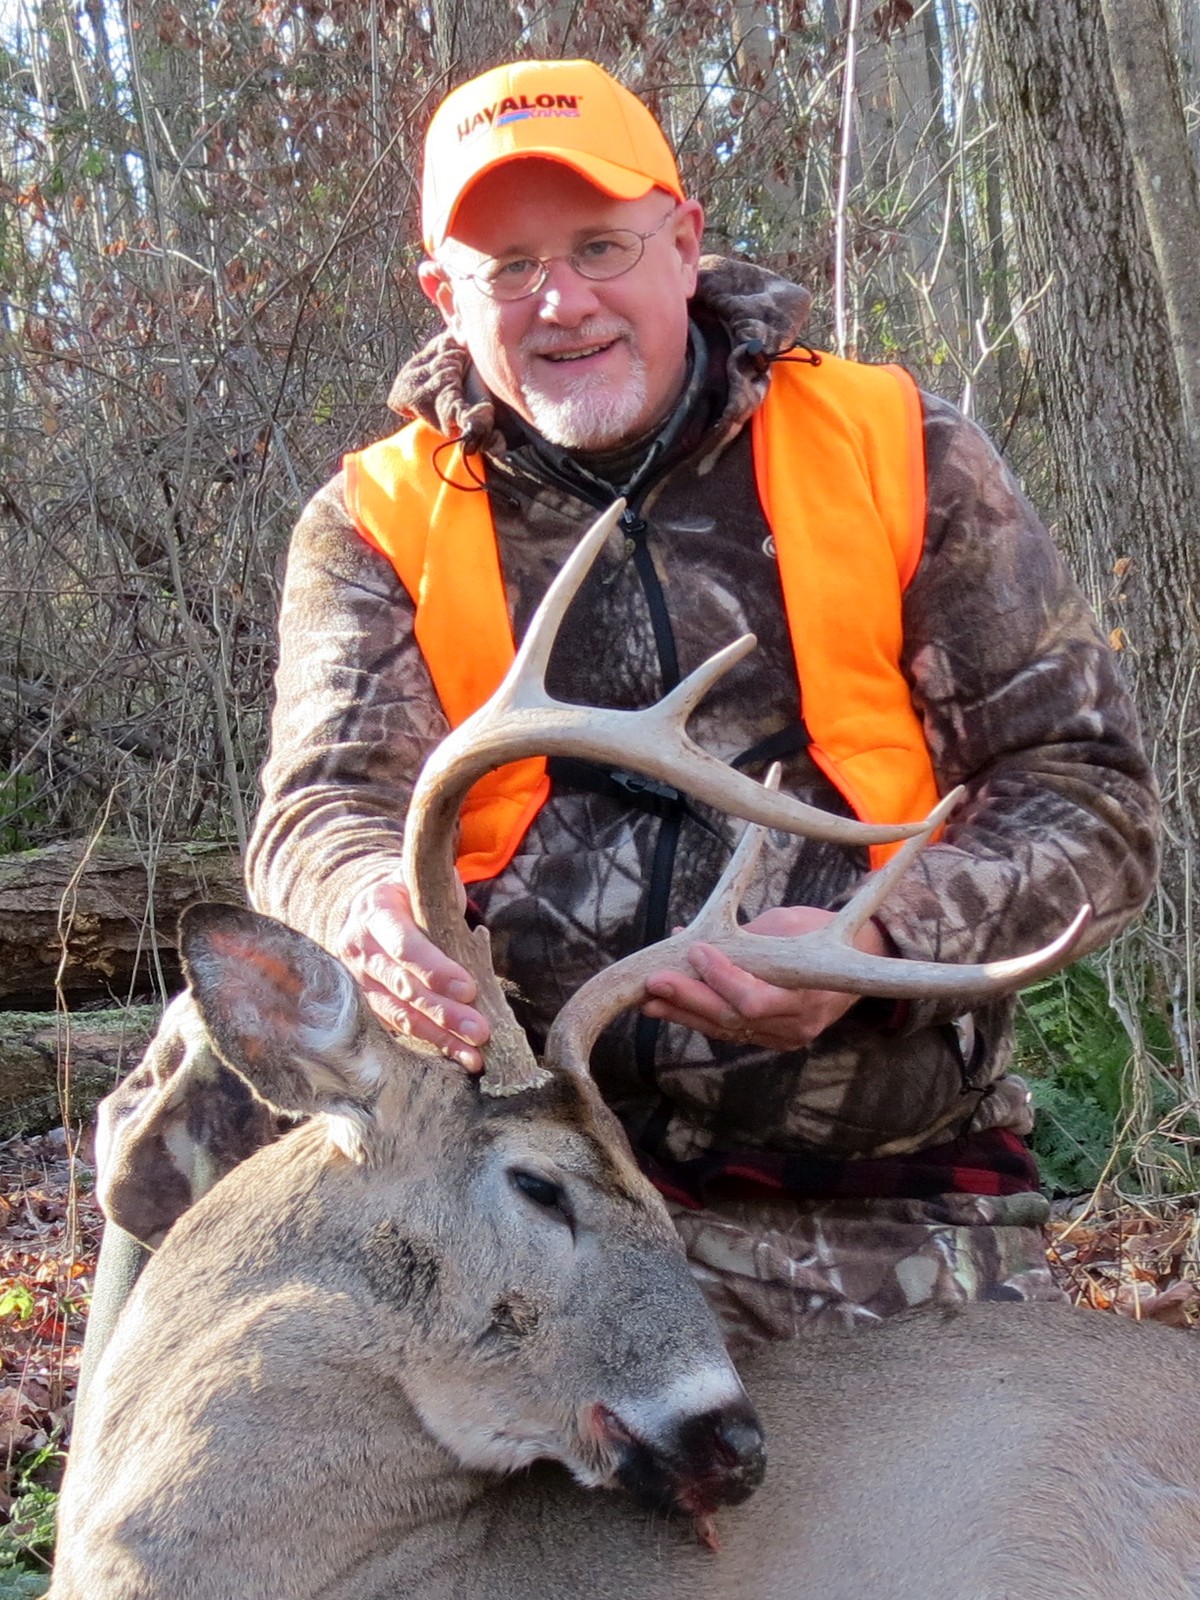
Nathan Sullivan took this Pennsylvania whopper on public property. It scored 174 4/8 inches, plenty to enter it into the Pope and Young archery record book. (Steve Sorensen photo.)
When the story is told, photos help people to know you are proud of the buck and that you have nothing to hide. You can’t control photos other people take of the deer, but share just one or two of yours. Don’t pass out photos you may want to publish with the story later. Circulate too many photos and someone will end up saying things like, “Hey, wait a minute—these two photos don’t look like the same deer!” Or, “This photo was taken at night—maybe this deer was poached!” It happens. Protect your photos. They will be an important tool in telling your story.
3. Do write it down.
Soon after you get your buck, write your story. You’re not composing a literary masterpiece, so forget about flashbacks, foreshadowing, metaphors, and the like. Simply document the hunt from beginning to end and keep it to a page or two. Make it simple, and mention anything that’s relevant. Be factual and chronological. Include a little about scouting, trail camera work, a description of the area, how the buck presented himself, any other deer you saw and how you handled the shot and the recovery. Be clear about date, time of day, weather, and temperature. When you finish, look it over and eliminate anything that’s not relevant. Don’t let anyone see it for a day or two. The passage of time will help you be more objective, and you’ll notice some things you need to make clearer. Above all, aim for clarity.
Your written account (along with your affidavit) helps authenticate your buck with the record keepers. It will also be a helpful tool for any writer who may cover your story for a magazine or website. But don’t make your notes widely available. If you do, the chances increase that someone will nitpick until they find something to question. Even an imagined inconsistency can create doubt. We see this often in politics, so it’s not just a deer hunting thing. It’s human nature.
4. Don’t debate.
Avoid dialogues with the doubters. You’ve taken steps to make your story clear. You have nothing to hide, and in time the doubters will disappear. The more you respond to their questions (or accusations and denunciations), the more you will sound defensive. That gives them fuel. Don’t engage with every social media post. Some of them will aim to get you to say something to which they can respond, “Aha! You aren’t telling the truth!” You’ve already told the truth. Stand by it. Nothing more needs to be said.
In this 22-minute video Brian Kightlinger reviews the scoring method used by the Northeast Big Buck Club. The NBBC used the standard Boone and Crockett method but does not deduct for lack of symmetry in the rack. (Video courtesy of Brian Kightlinger)
I’ve written enough big buck stories to know people sometimes think it’s their job to generate doubt. It happens even with ordinary deer. Many years ago I shot a 120-class buck just before dark. The landowner held the flashlight as I field-dressed it. A few days later the grapevine talk was that I shot it after legal hours. It happens.
Until jealously, insecurity, and other negative traits are eliminated from human nature, someone will doubt you. Deer stories are great stories, whether they’re about the buck of a lifetime or something ordinary and special only to you. Tell your story well, be honest, and keep your head up, because the people who are important to you will be happy for you.
***
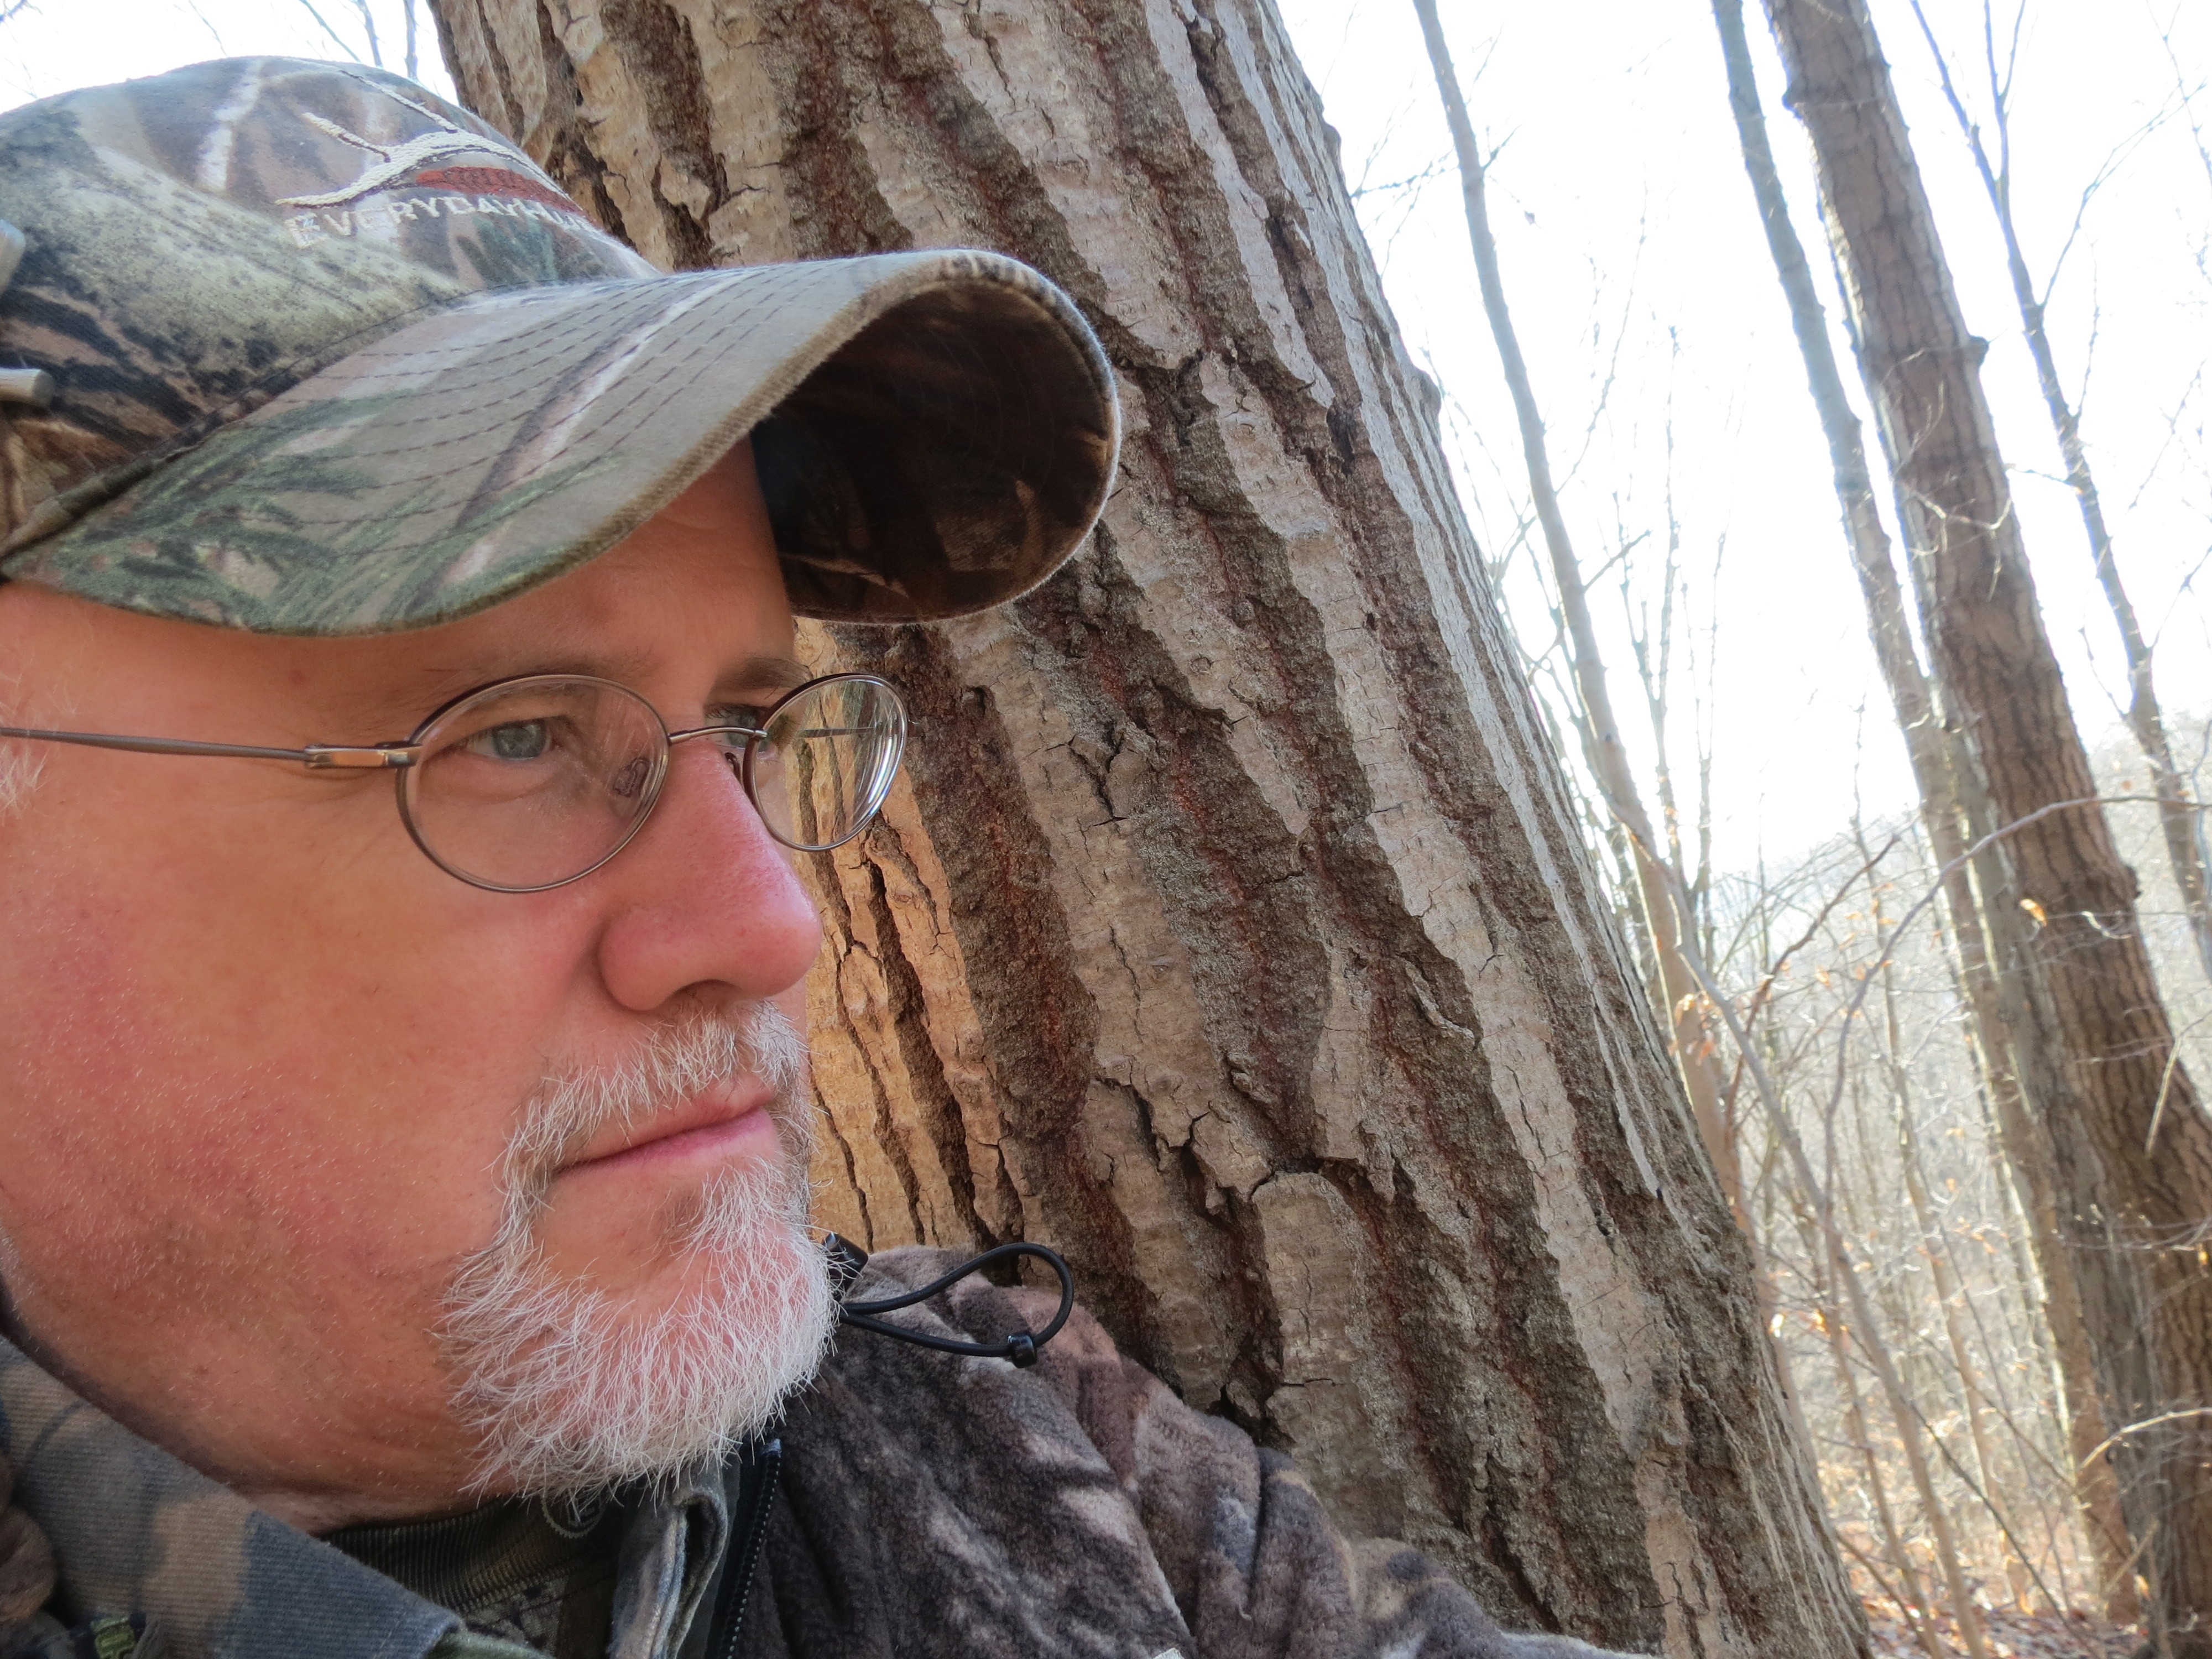
When “The Everyday Hunter” isn’t hunting, he’s thinking about hunting, talking about hunting, dreaming about hunting, writing about hunting, or wishing he were hunting. If you want to tell Steve exactly where your favorite hunting spot is, contact him through his website, www.EverydayHunter.com. He’s writes for top outdoor magazines, and won the 2015 and 2018 national “Pinnacle Award” for outdoor writing.
![]()


 Steve Sorensen is the author of